Earlier this year, my uncle gave me his old film camera. The Olympus OM-1n. I’ve been practicing photography for about 7 years now, I’m self-taught, and of course I started with a digital camera. Due to my style of shooting leaning towards the photojournalist side of the photography spectrum, the look of film images always appealed to me. So after 3 digital cameras since starting photography, and countless lenses and equipment, I decided to dive in and experiment with shooting some film work. Here’s how it went…
I brought the OM-1n with me on a vacation trip to California for my sister’s high school graduation. I used Fujifilm Superia X-Tra ISO 400. My dad had to show me how to load the film in the camera (true story). Going from my A7iii which is regarded as having the best autofocusing system available to manual focusing and no electronic viewfinder for exposing shots was a big change of pace for me. The experience is completely different, but in many ways, I was forced to be more tactical and mindful with my shots while I was shooting film.
After going through my 1st roll, I went to CSW Film in Chicago to get it processed. They don’t do any scanning, so for that part, I had a few options:
Find a lab
Get a scanner
Photograph the negatives and convert them with software

I ended up doing options 2 and 3. Unc let me borrow his scanner, and I photographed them with my A7iii and brought them into Capture One to play with. There’s all kinds of ways people photograph negatives. I used a tripod and pointed the camera down on top of them. I used the scanner’s slides to hold the film in place, and lit the negatives with a long light that I use in my studio.
I don’t have a macro lens however, so I couldn’t get in as close as I wanted to while doing the photographing method. This resulted in me having to crop in a lot in post to frame the shot, which takes a hit on sharpness of the images. The flexibility that the RAW file gives you was a nice bonus while I was testing these methods out.
The scanner provided a larger image file, and the colors from the images gave me a good starting point for how to edit the negative files. I found myself going back and forth with the negative RAW files because I didn’t have a reference point initially. The scans and the RAW files surprisingly looked similar after converting them in my editing software. I was able to get a good neutral color look out of the RAW files. I honestly think I prefer the photographing method simply because you gain more control in post. The results would be even better with a macro lens.
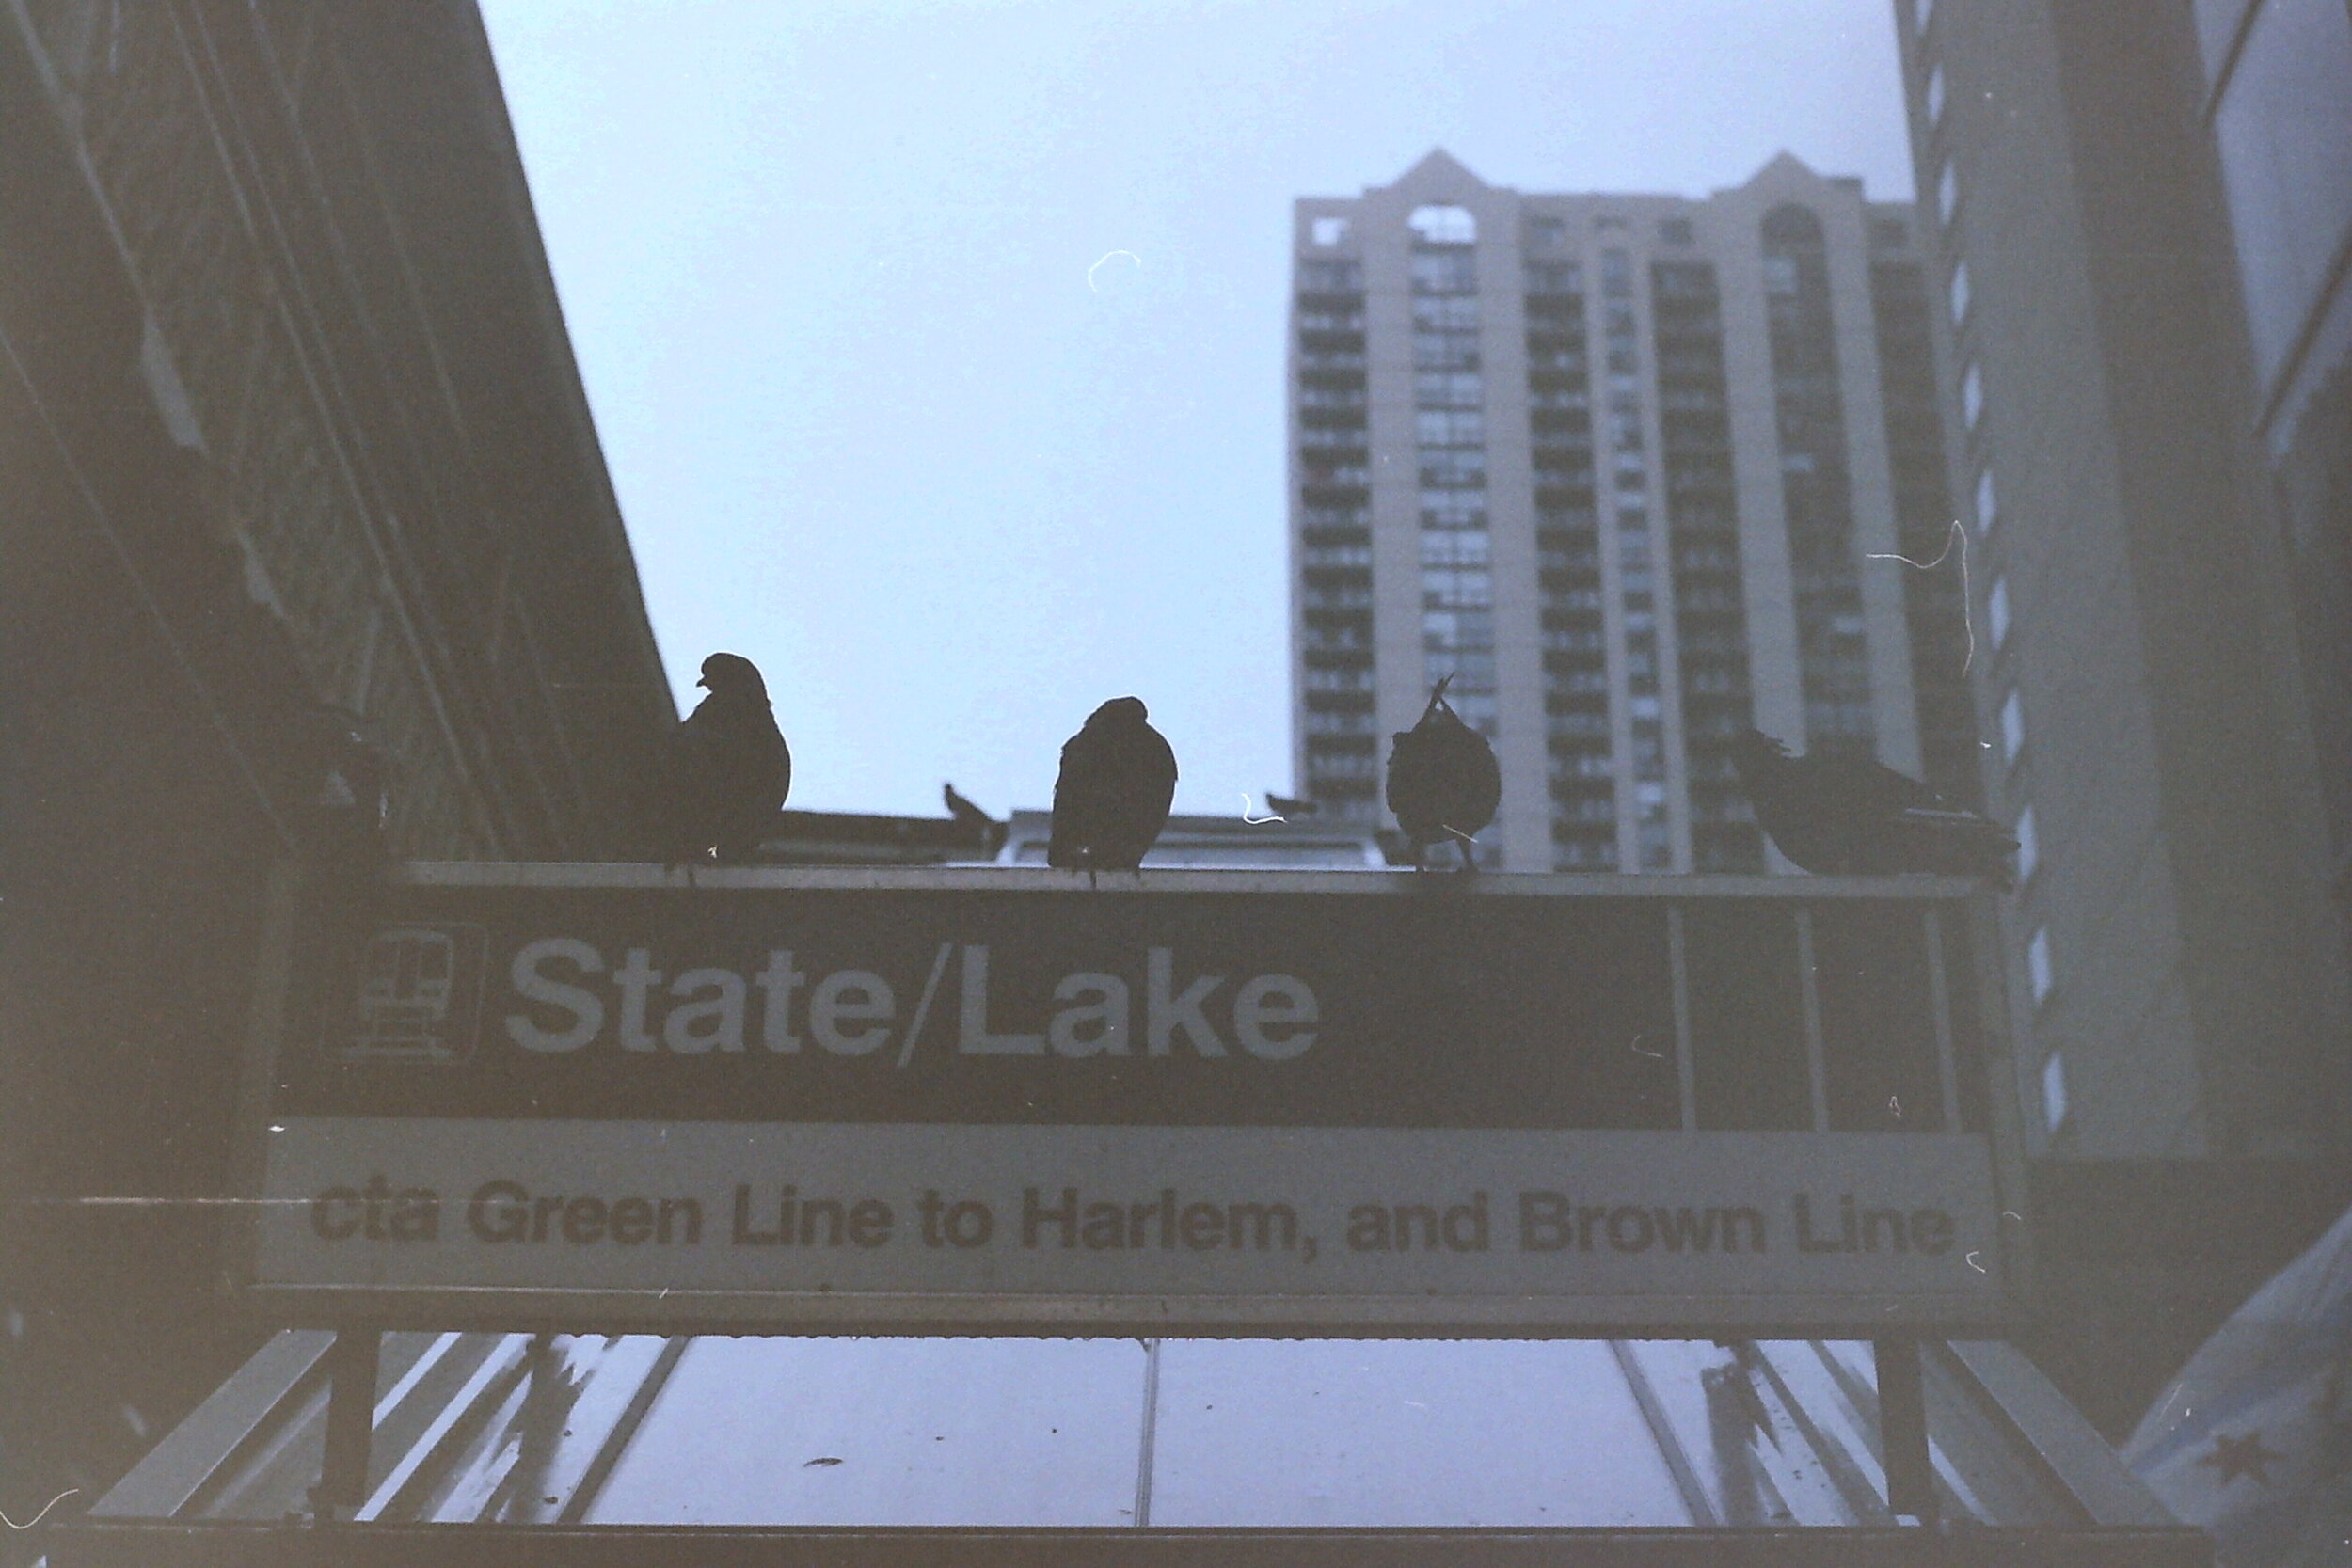
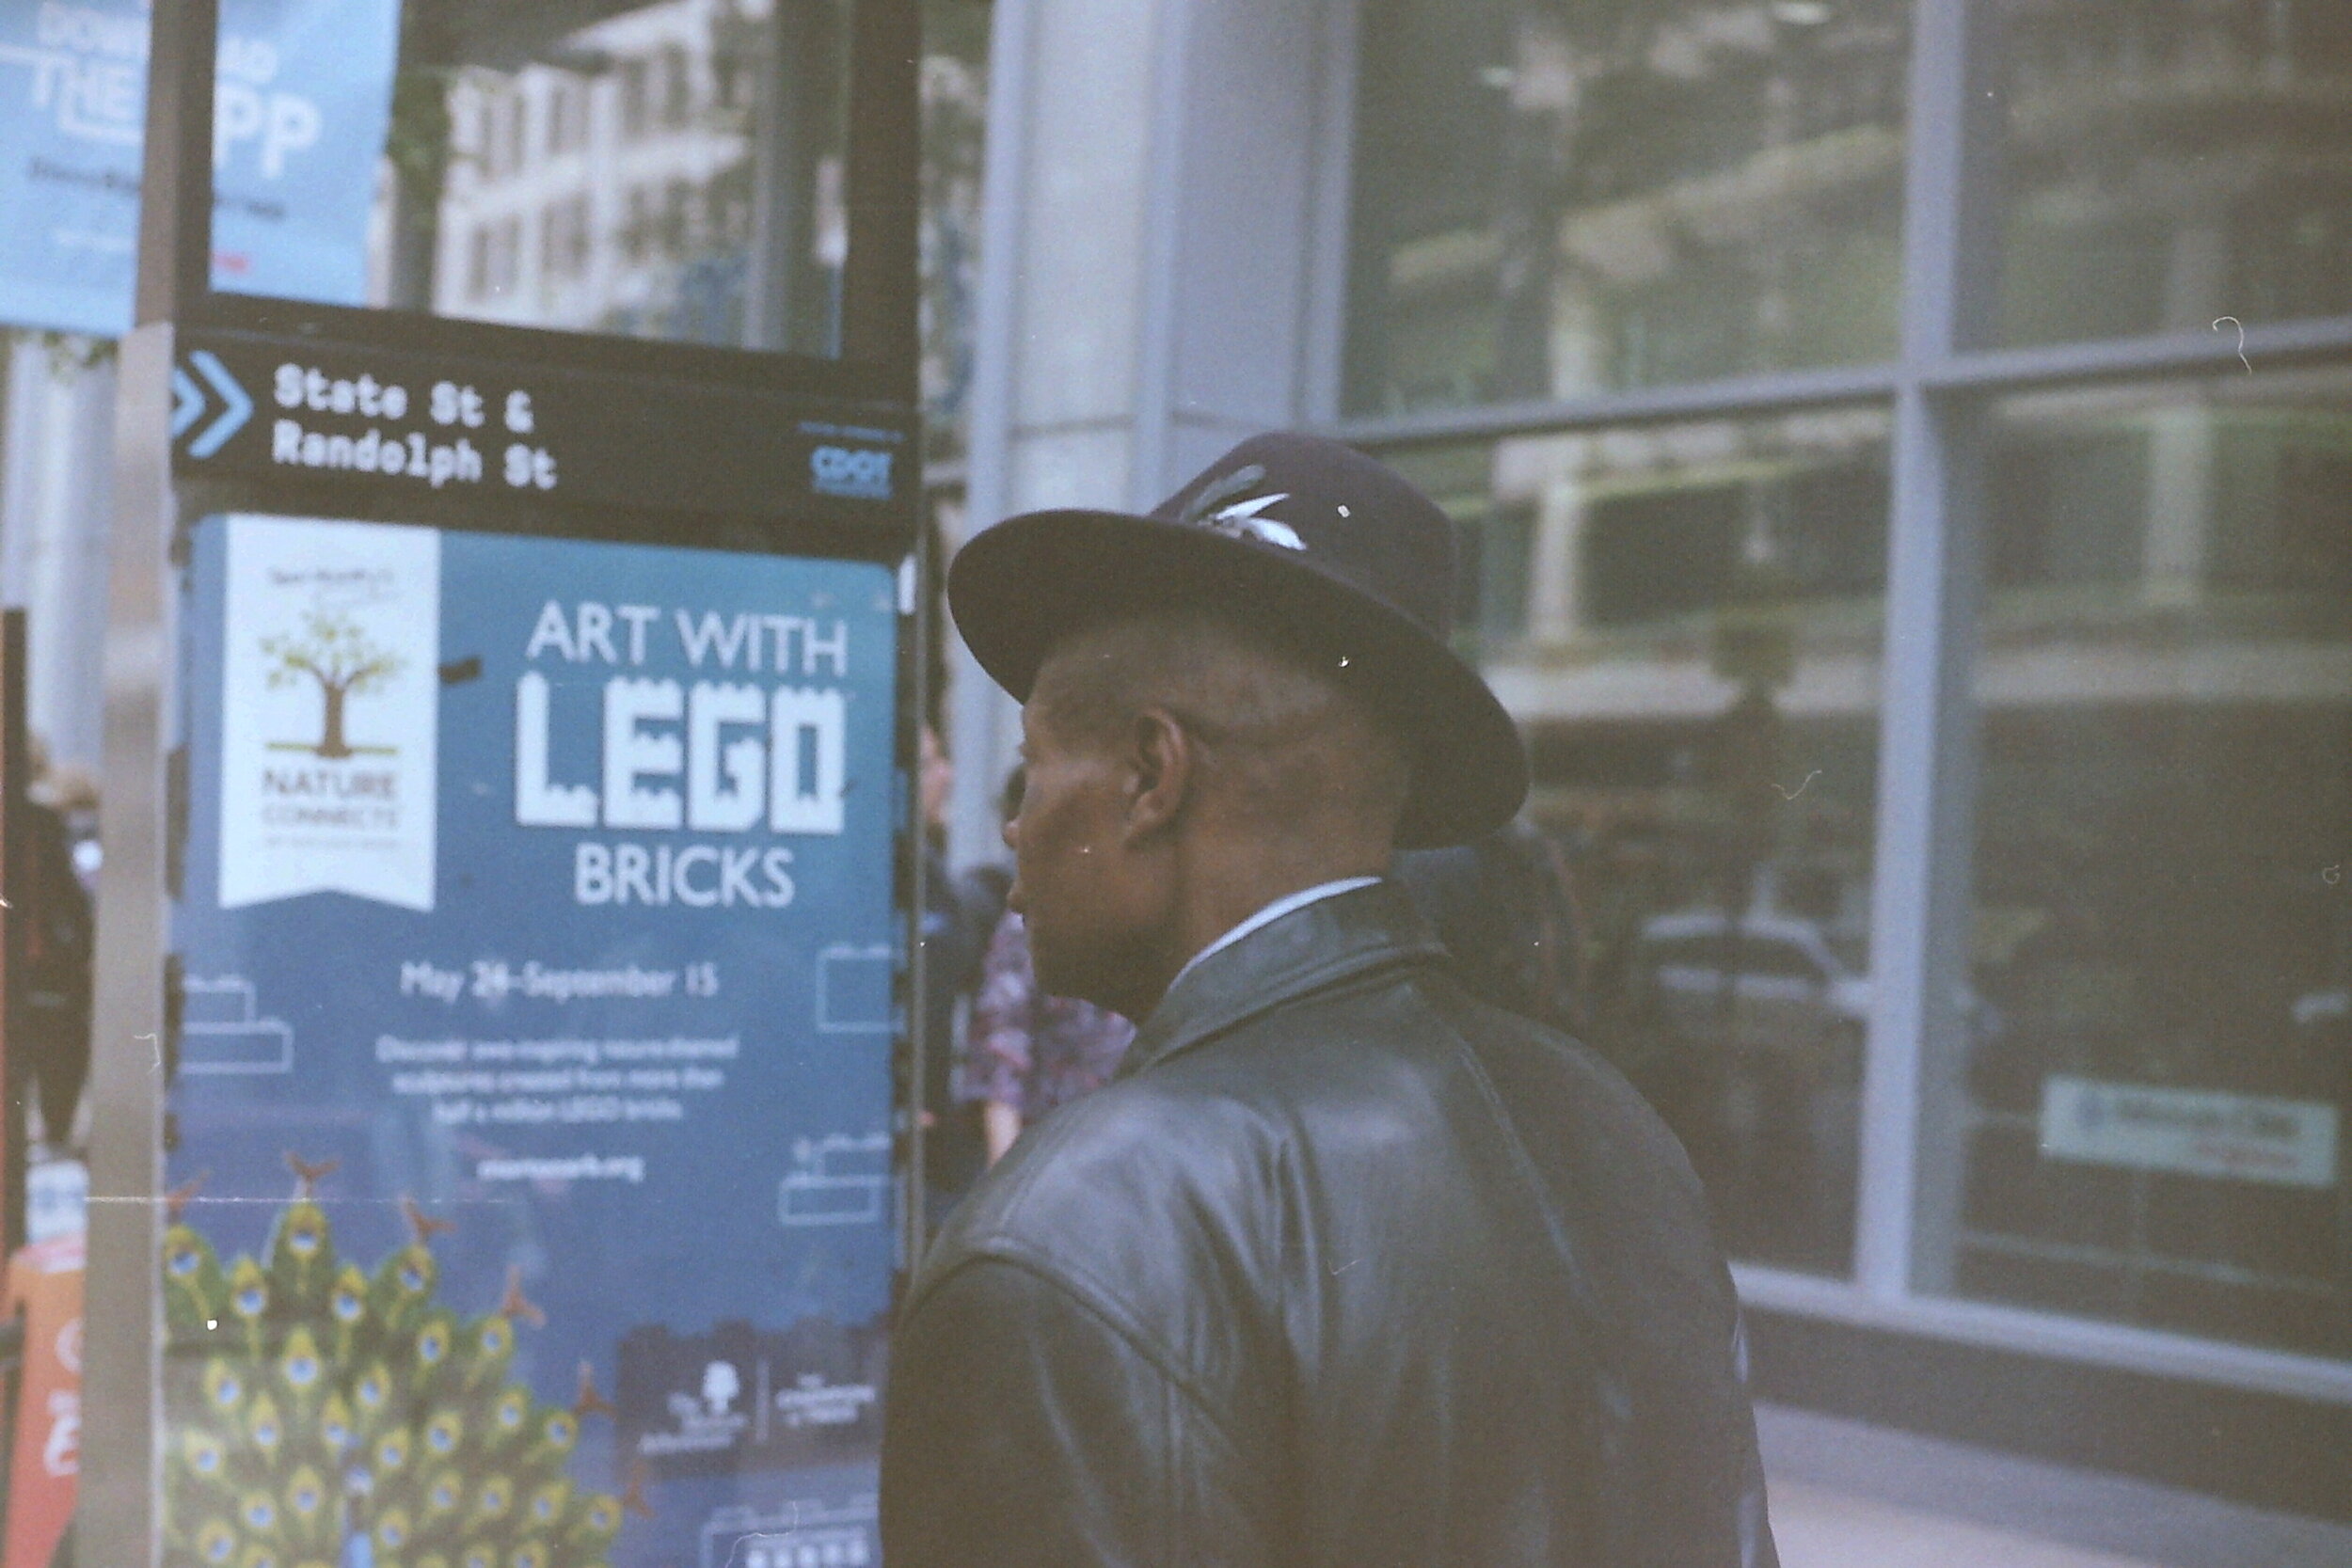
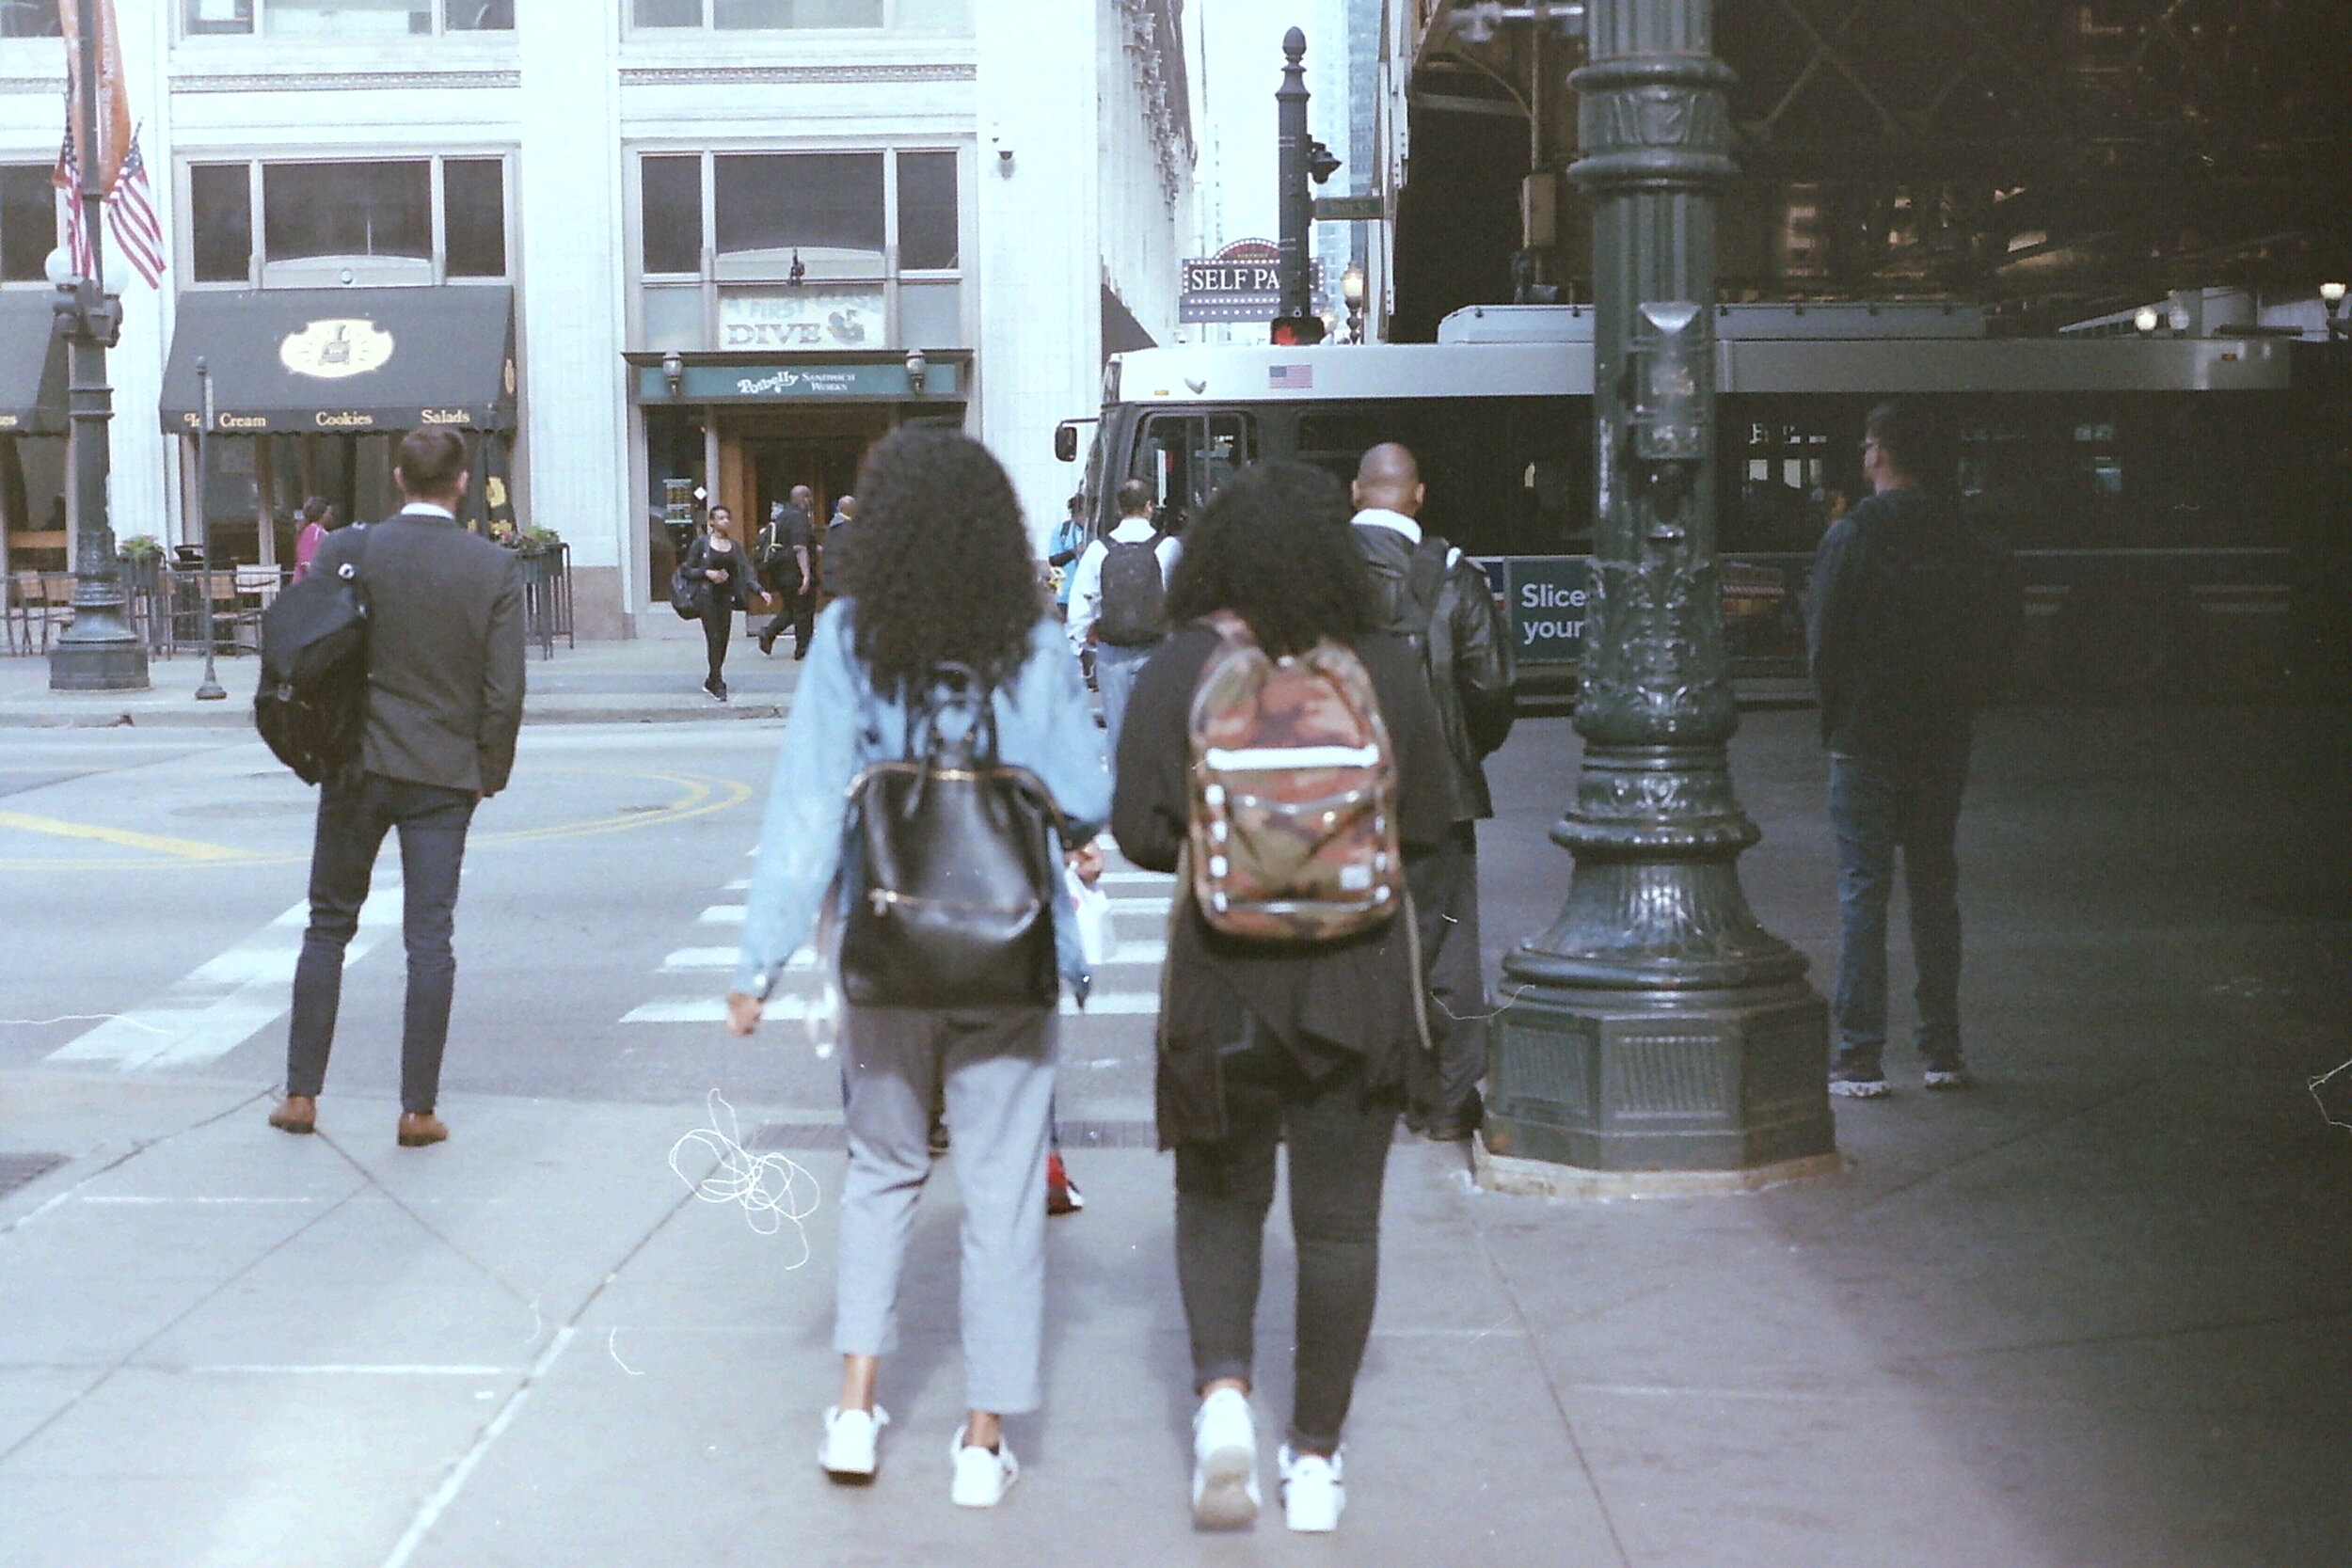
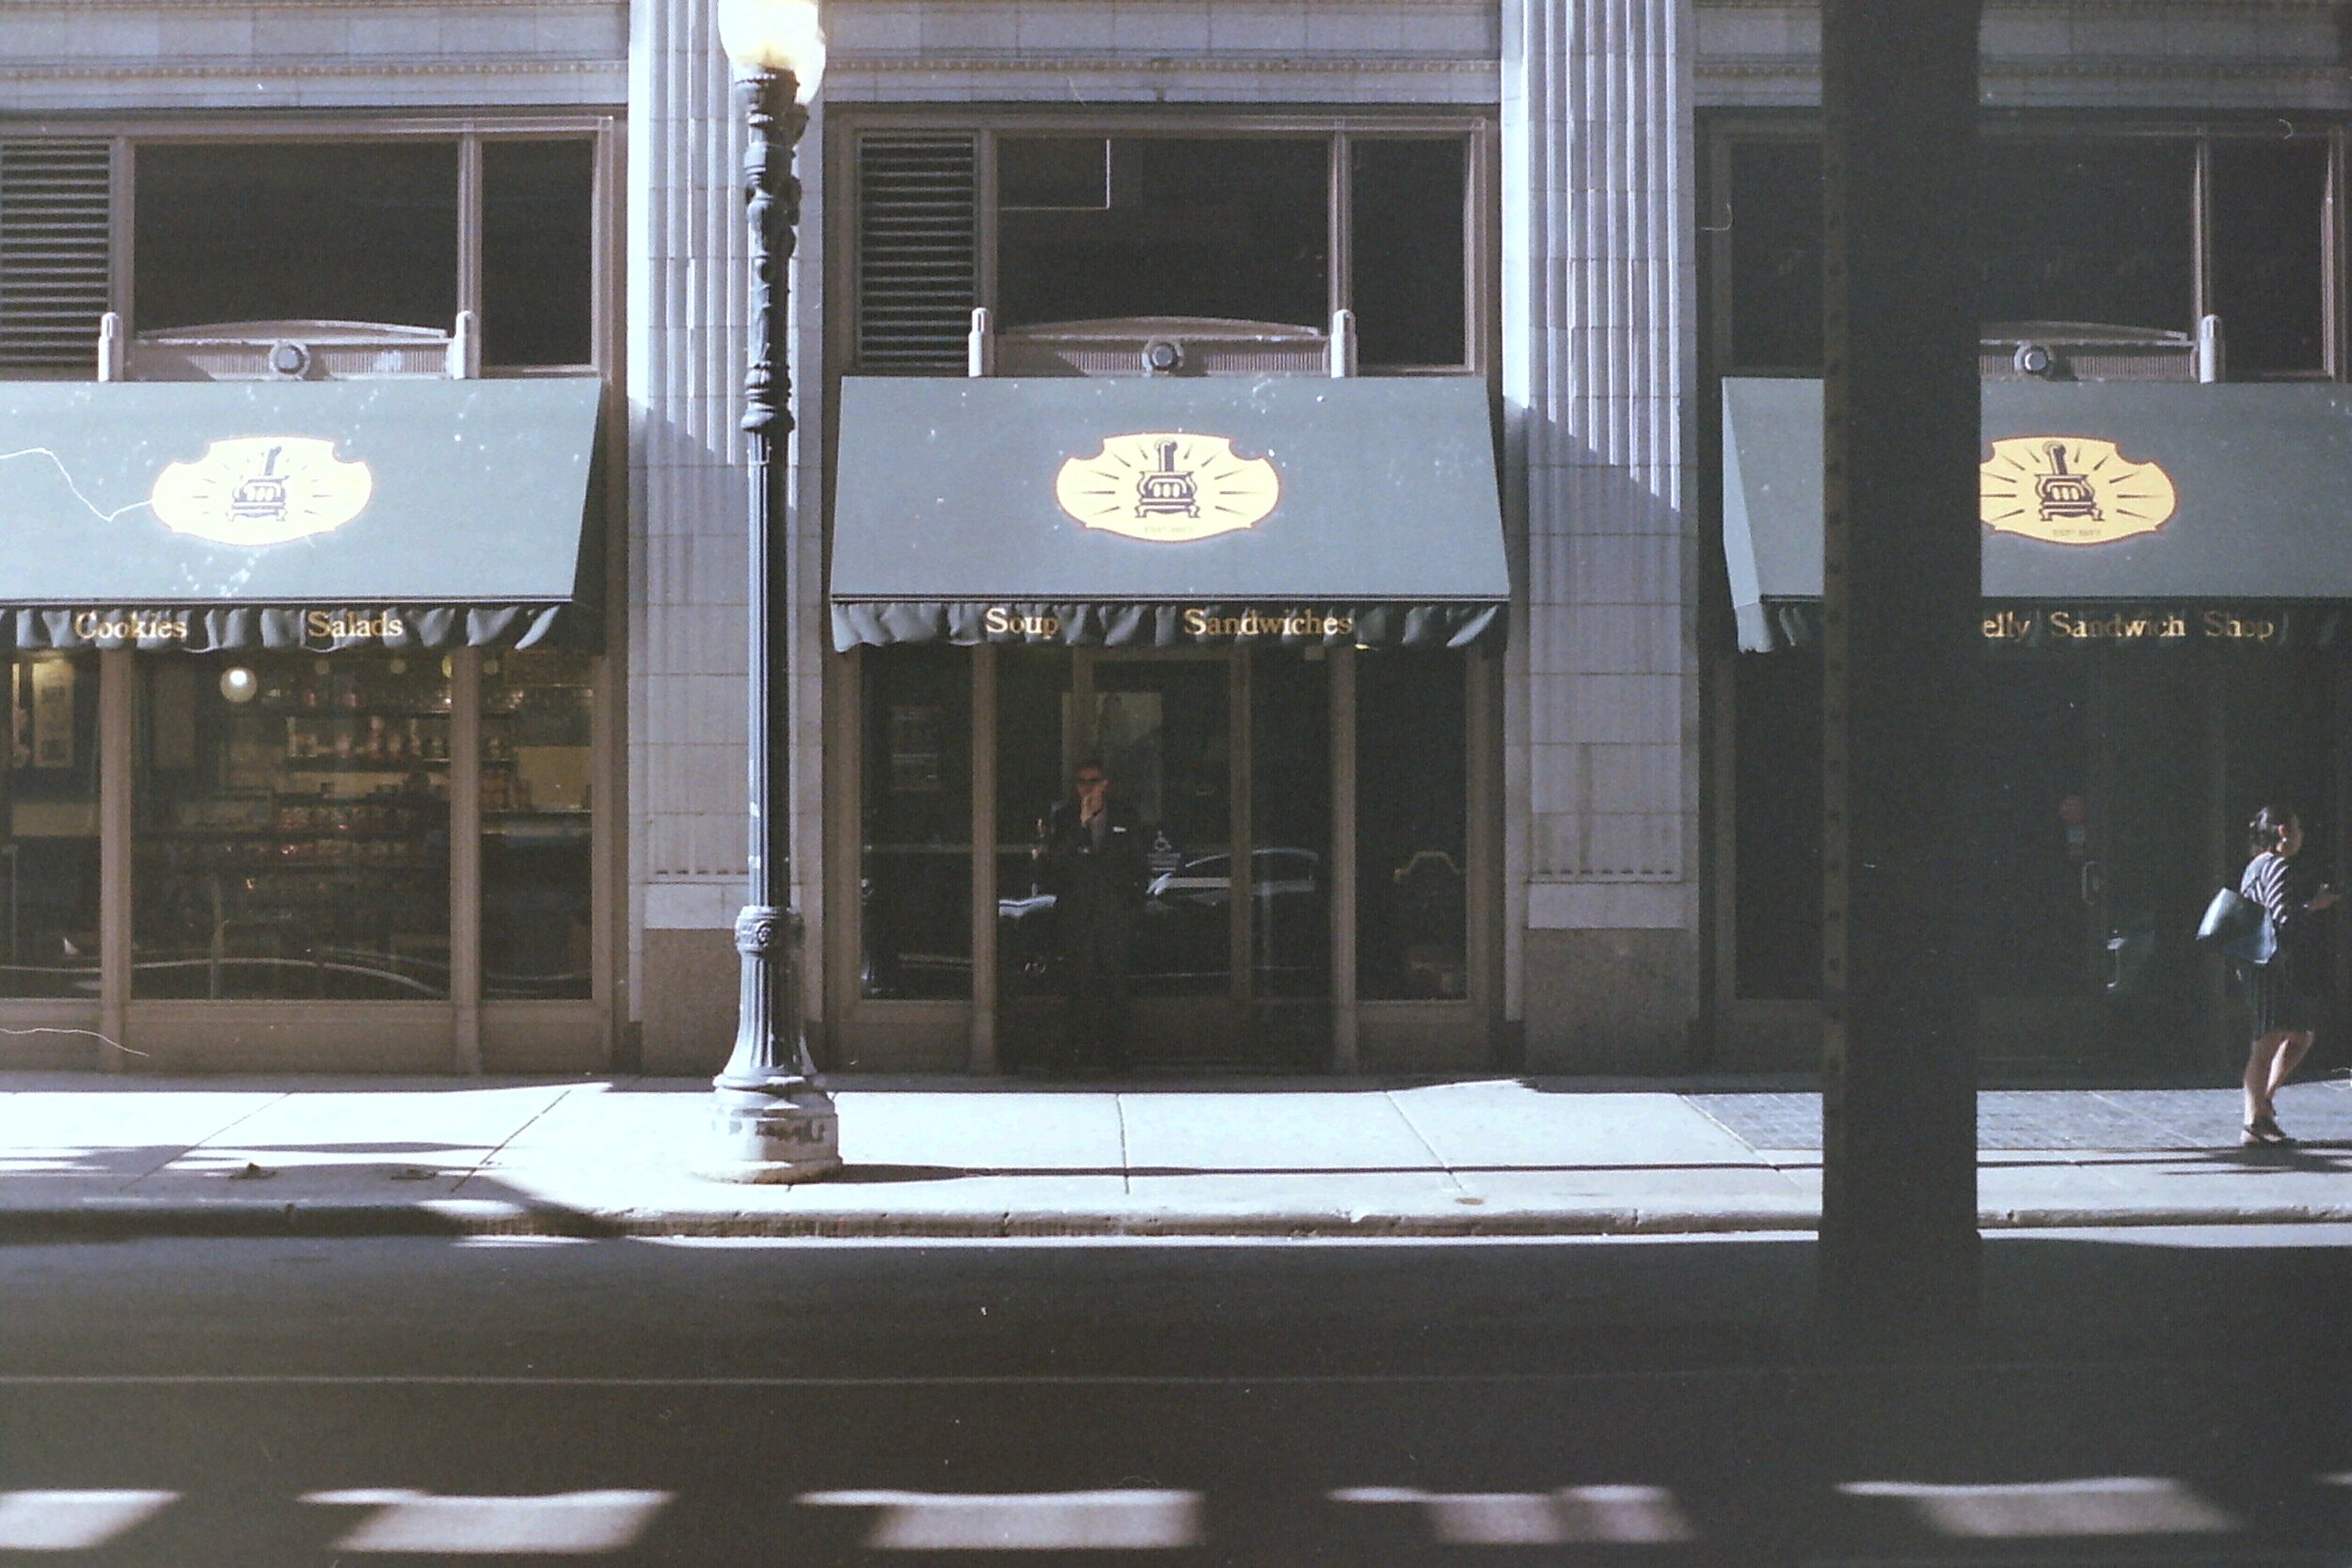
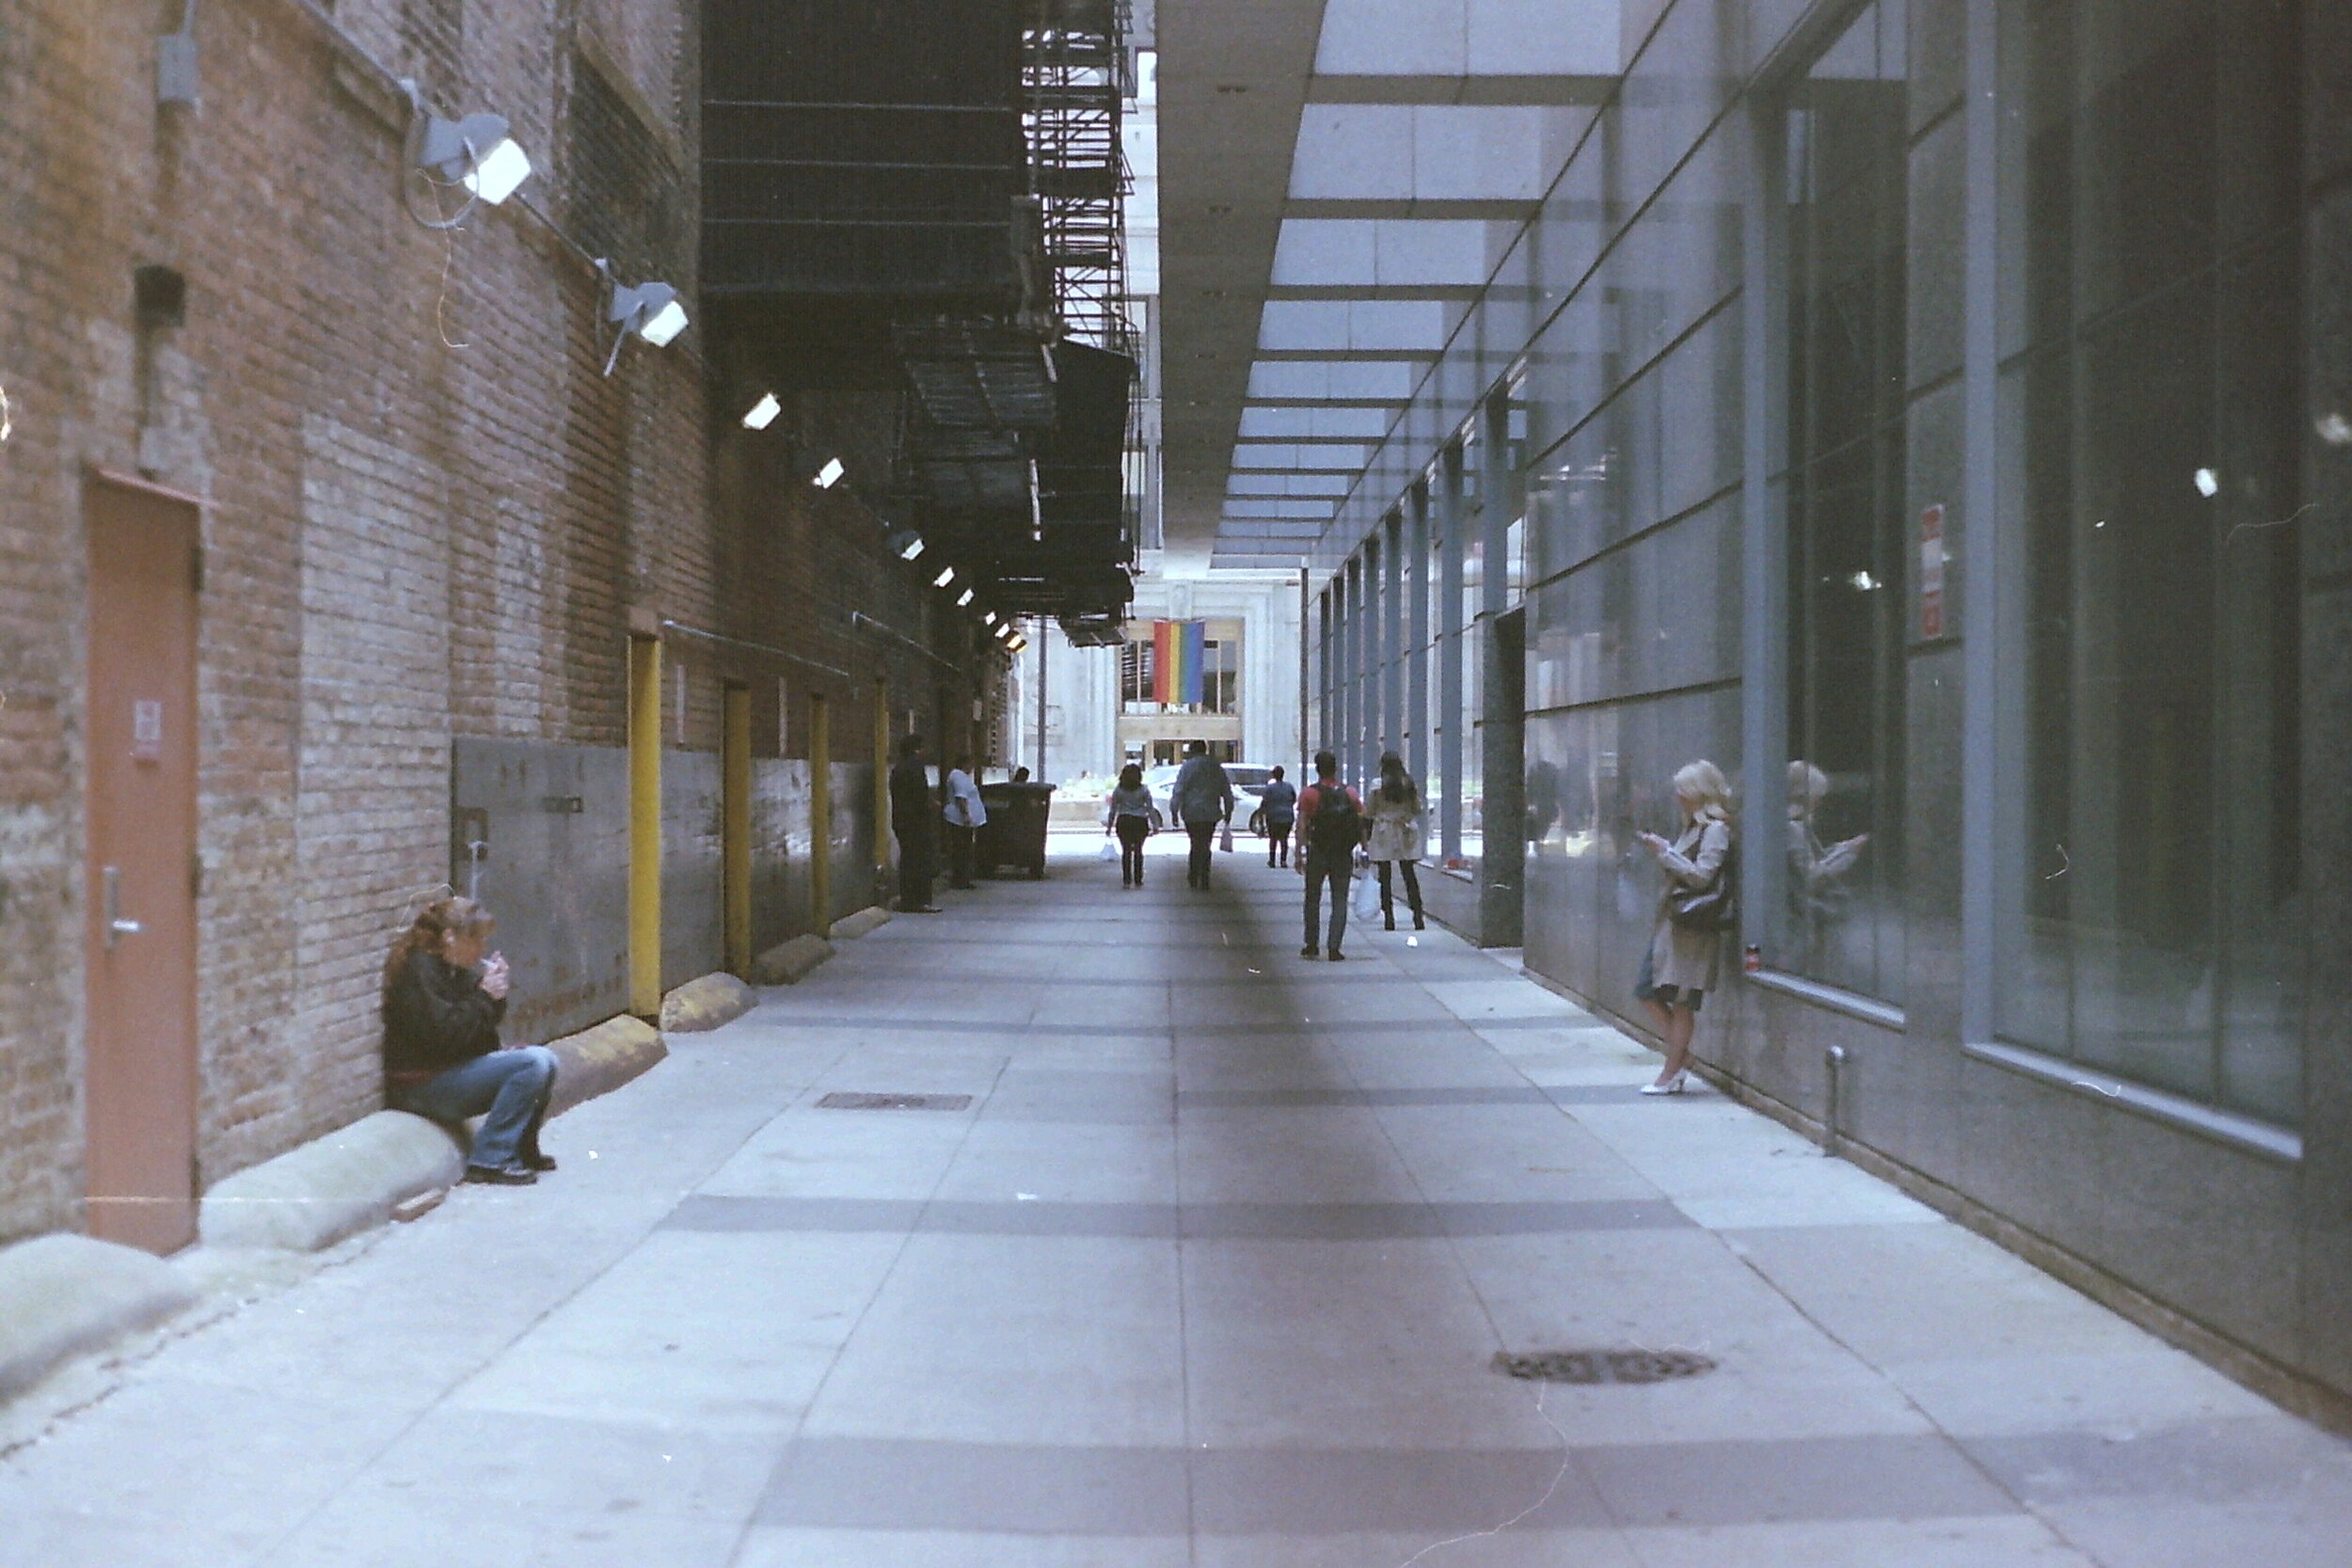
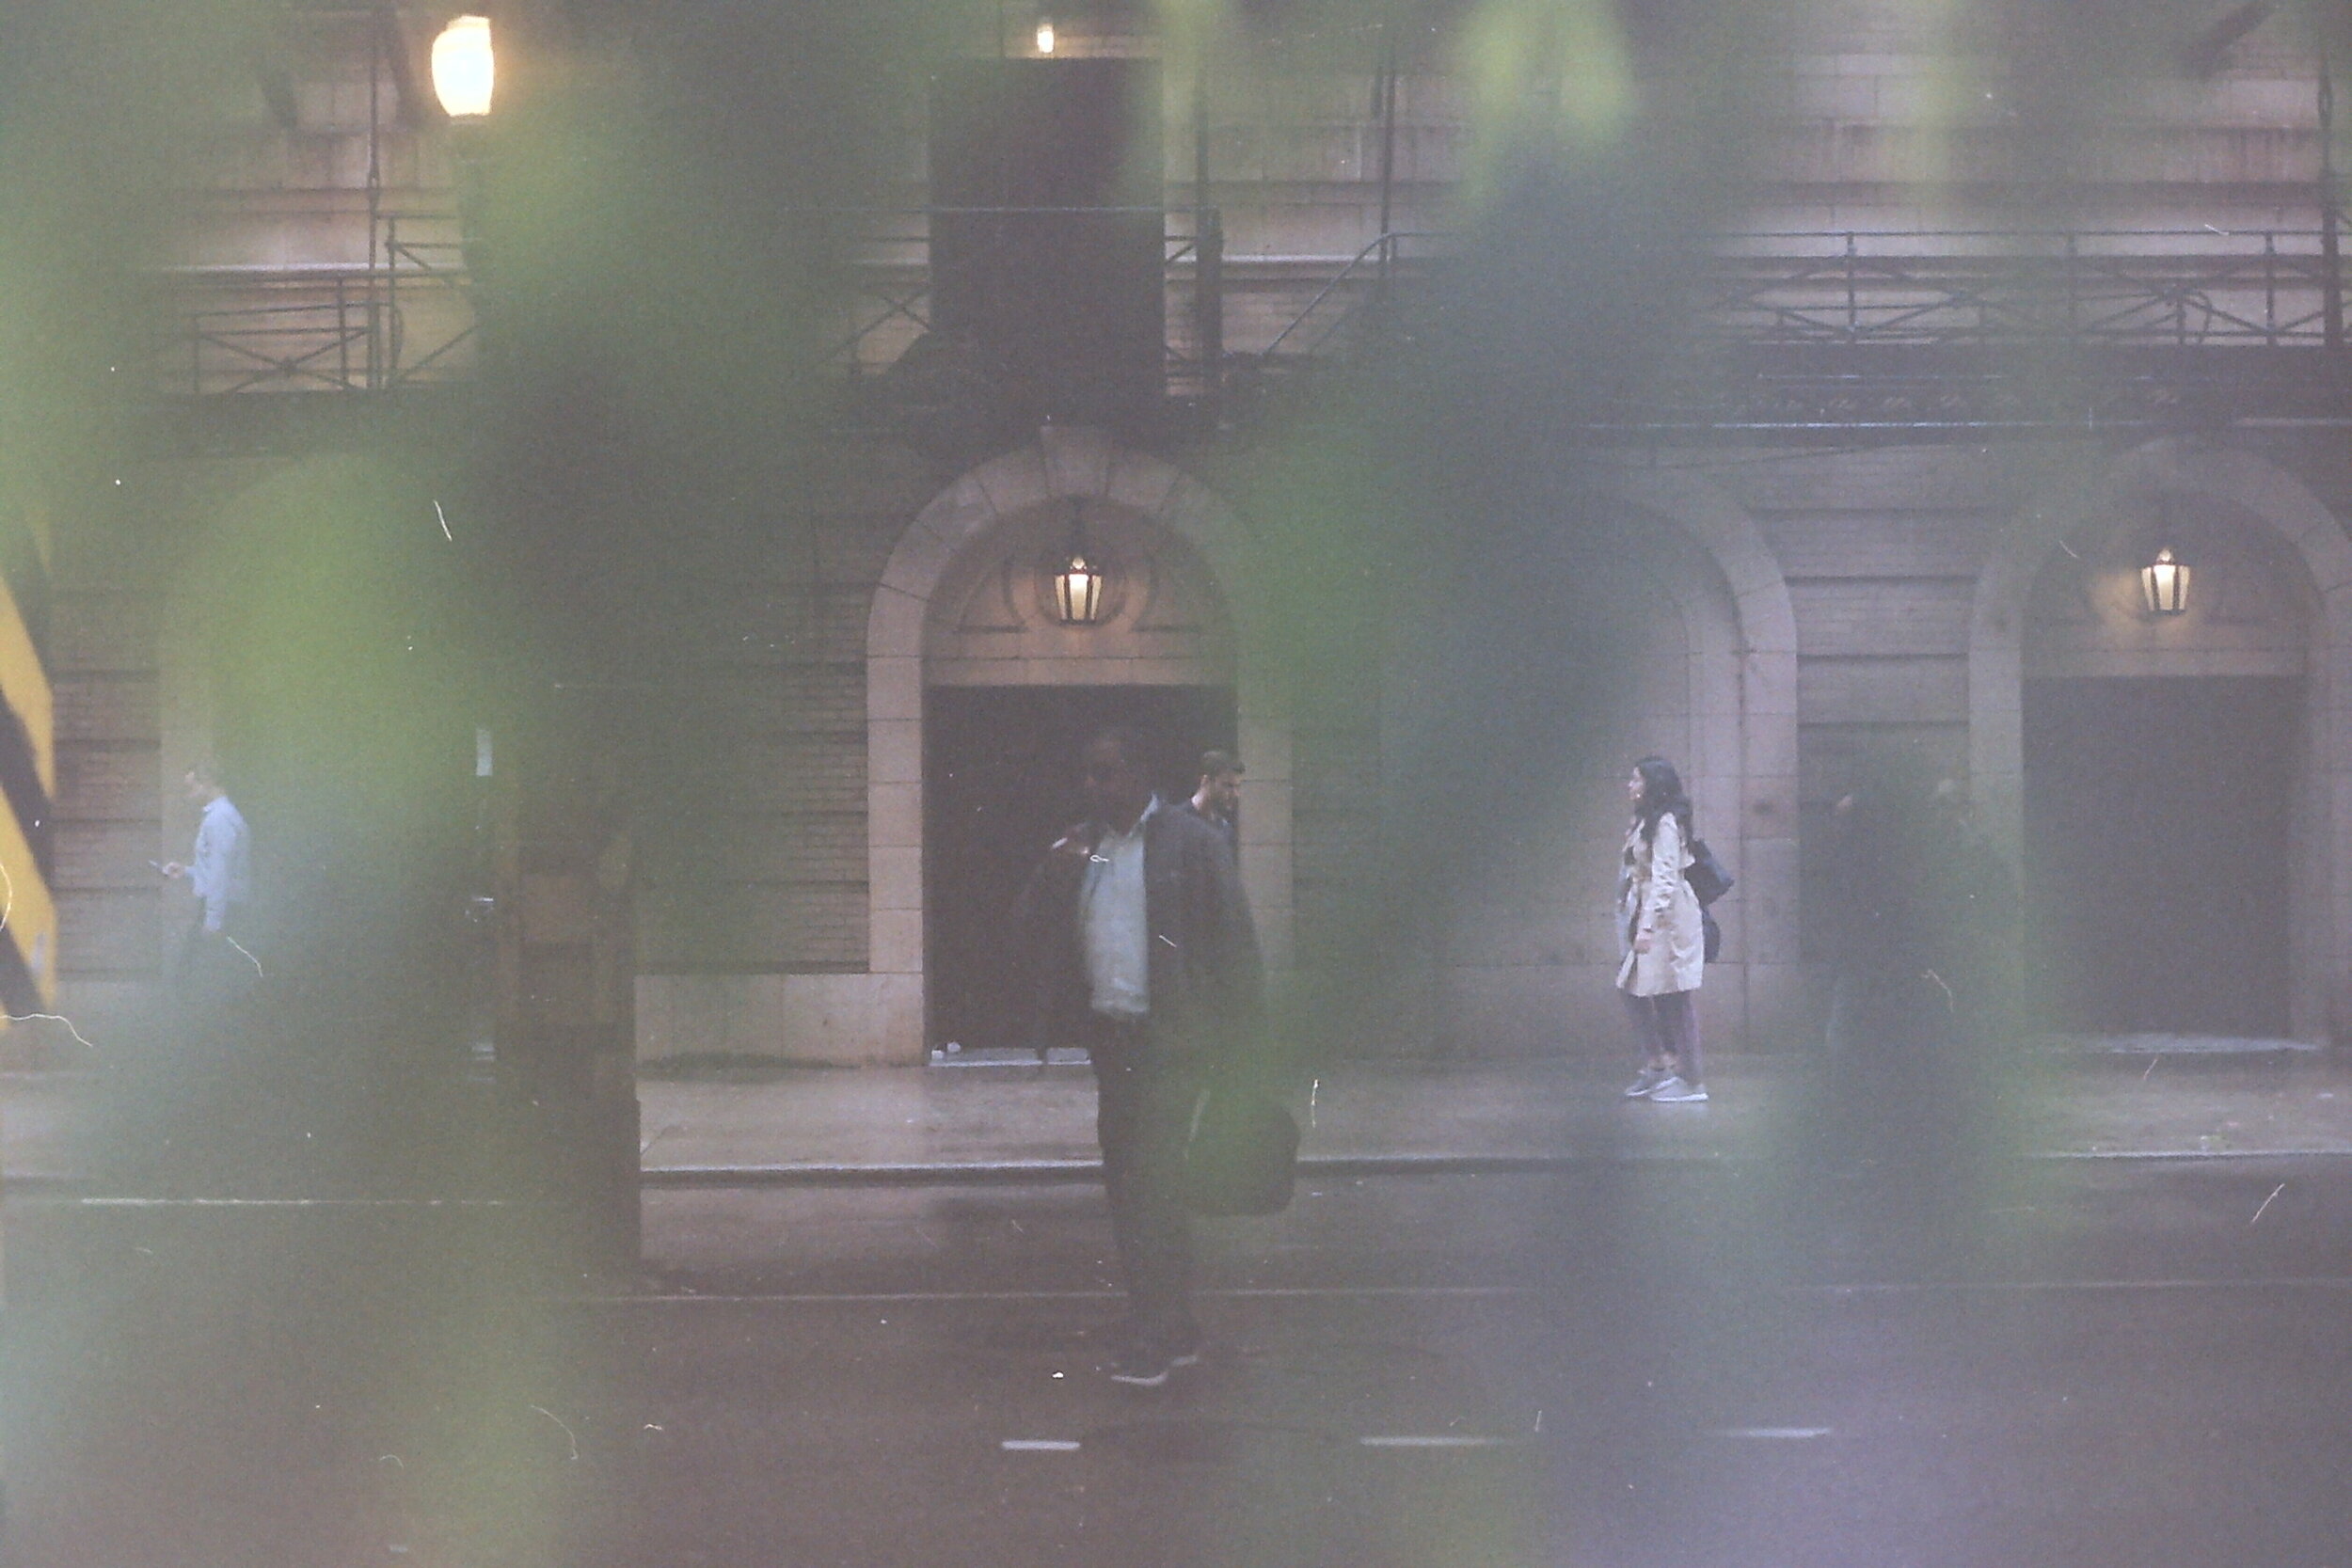
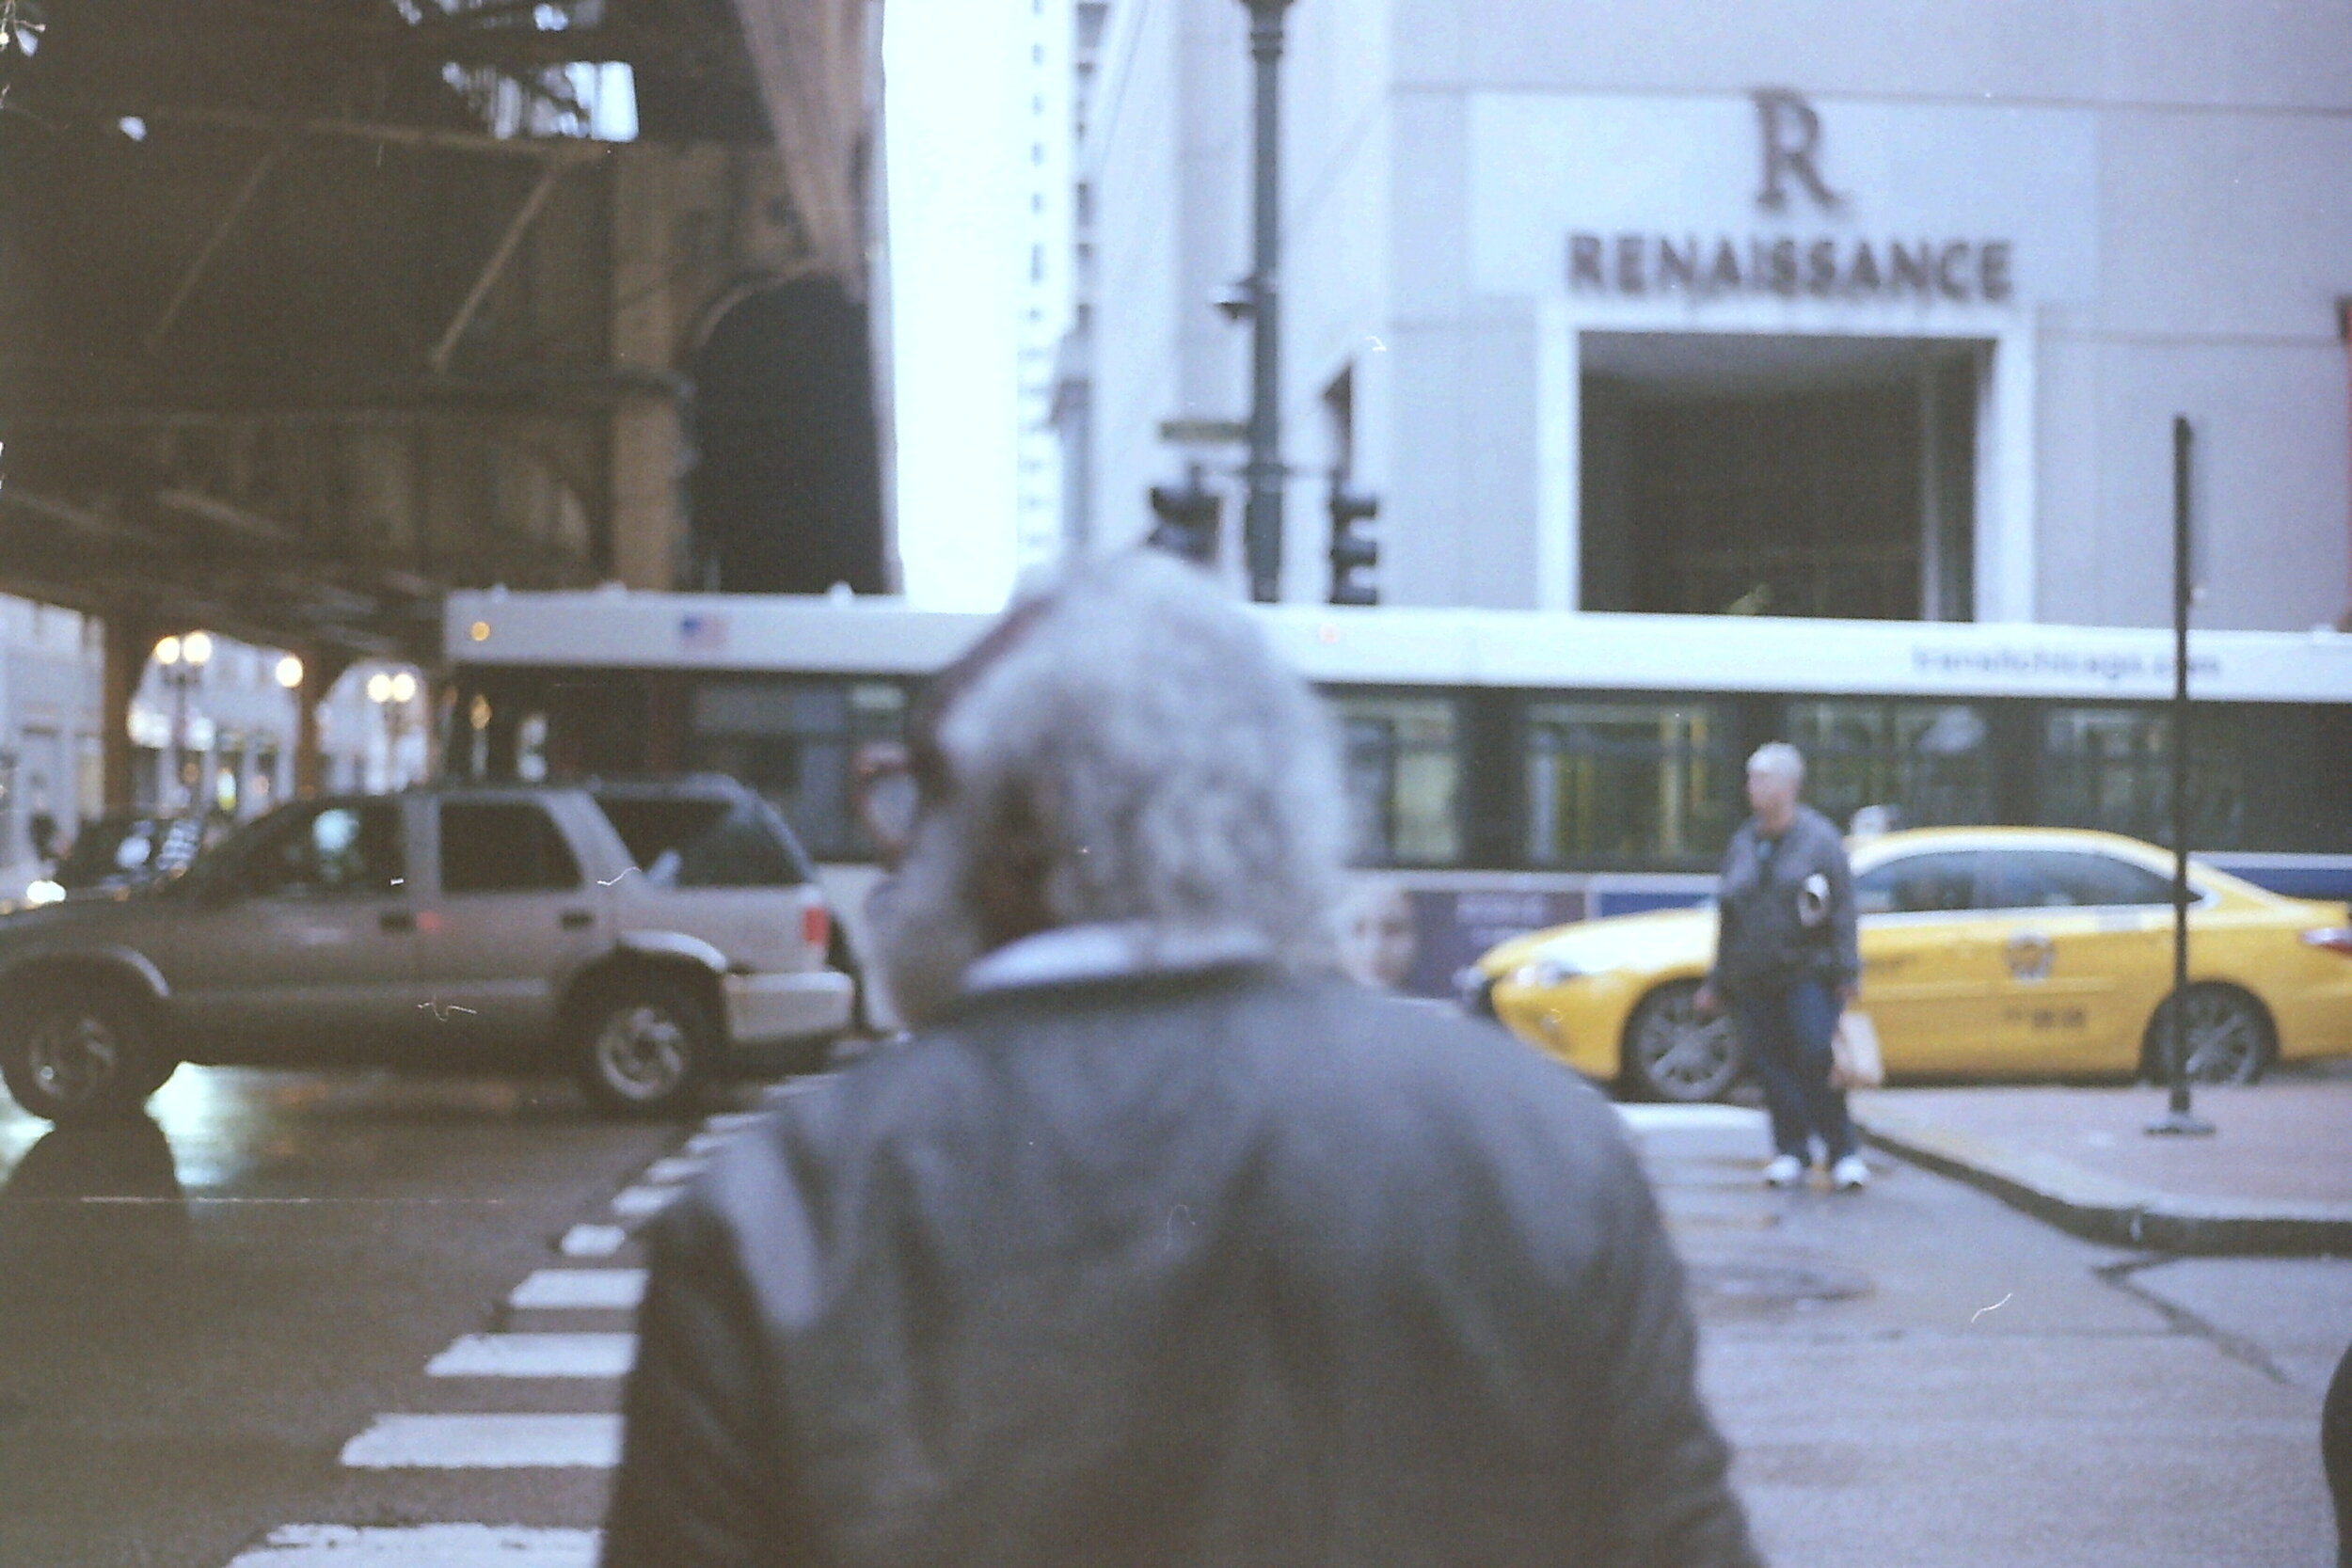
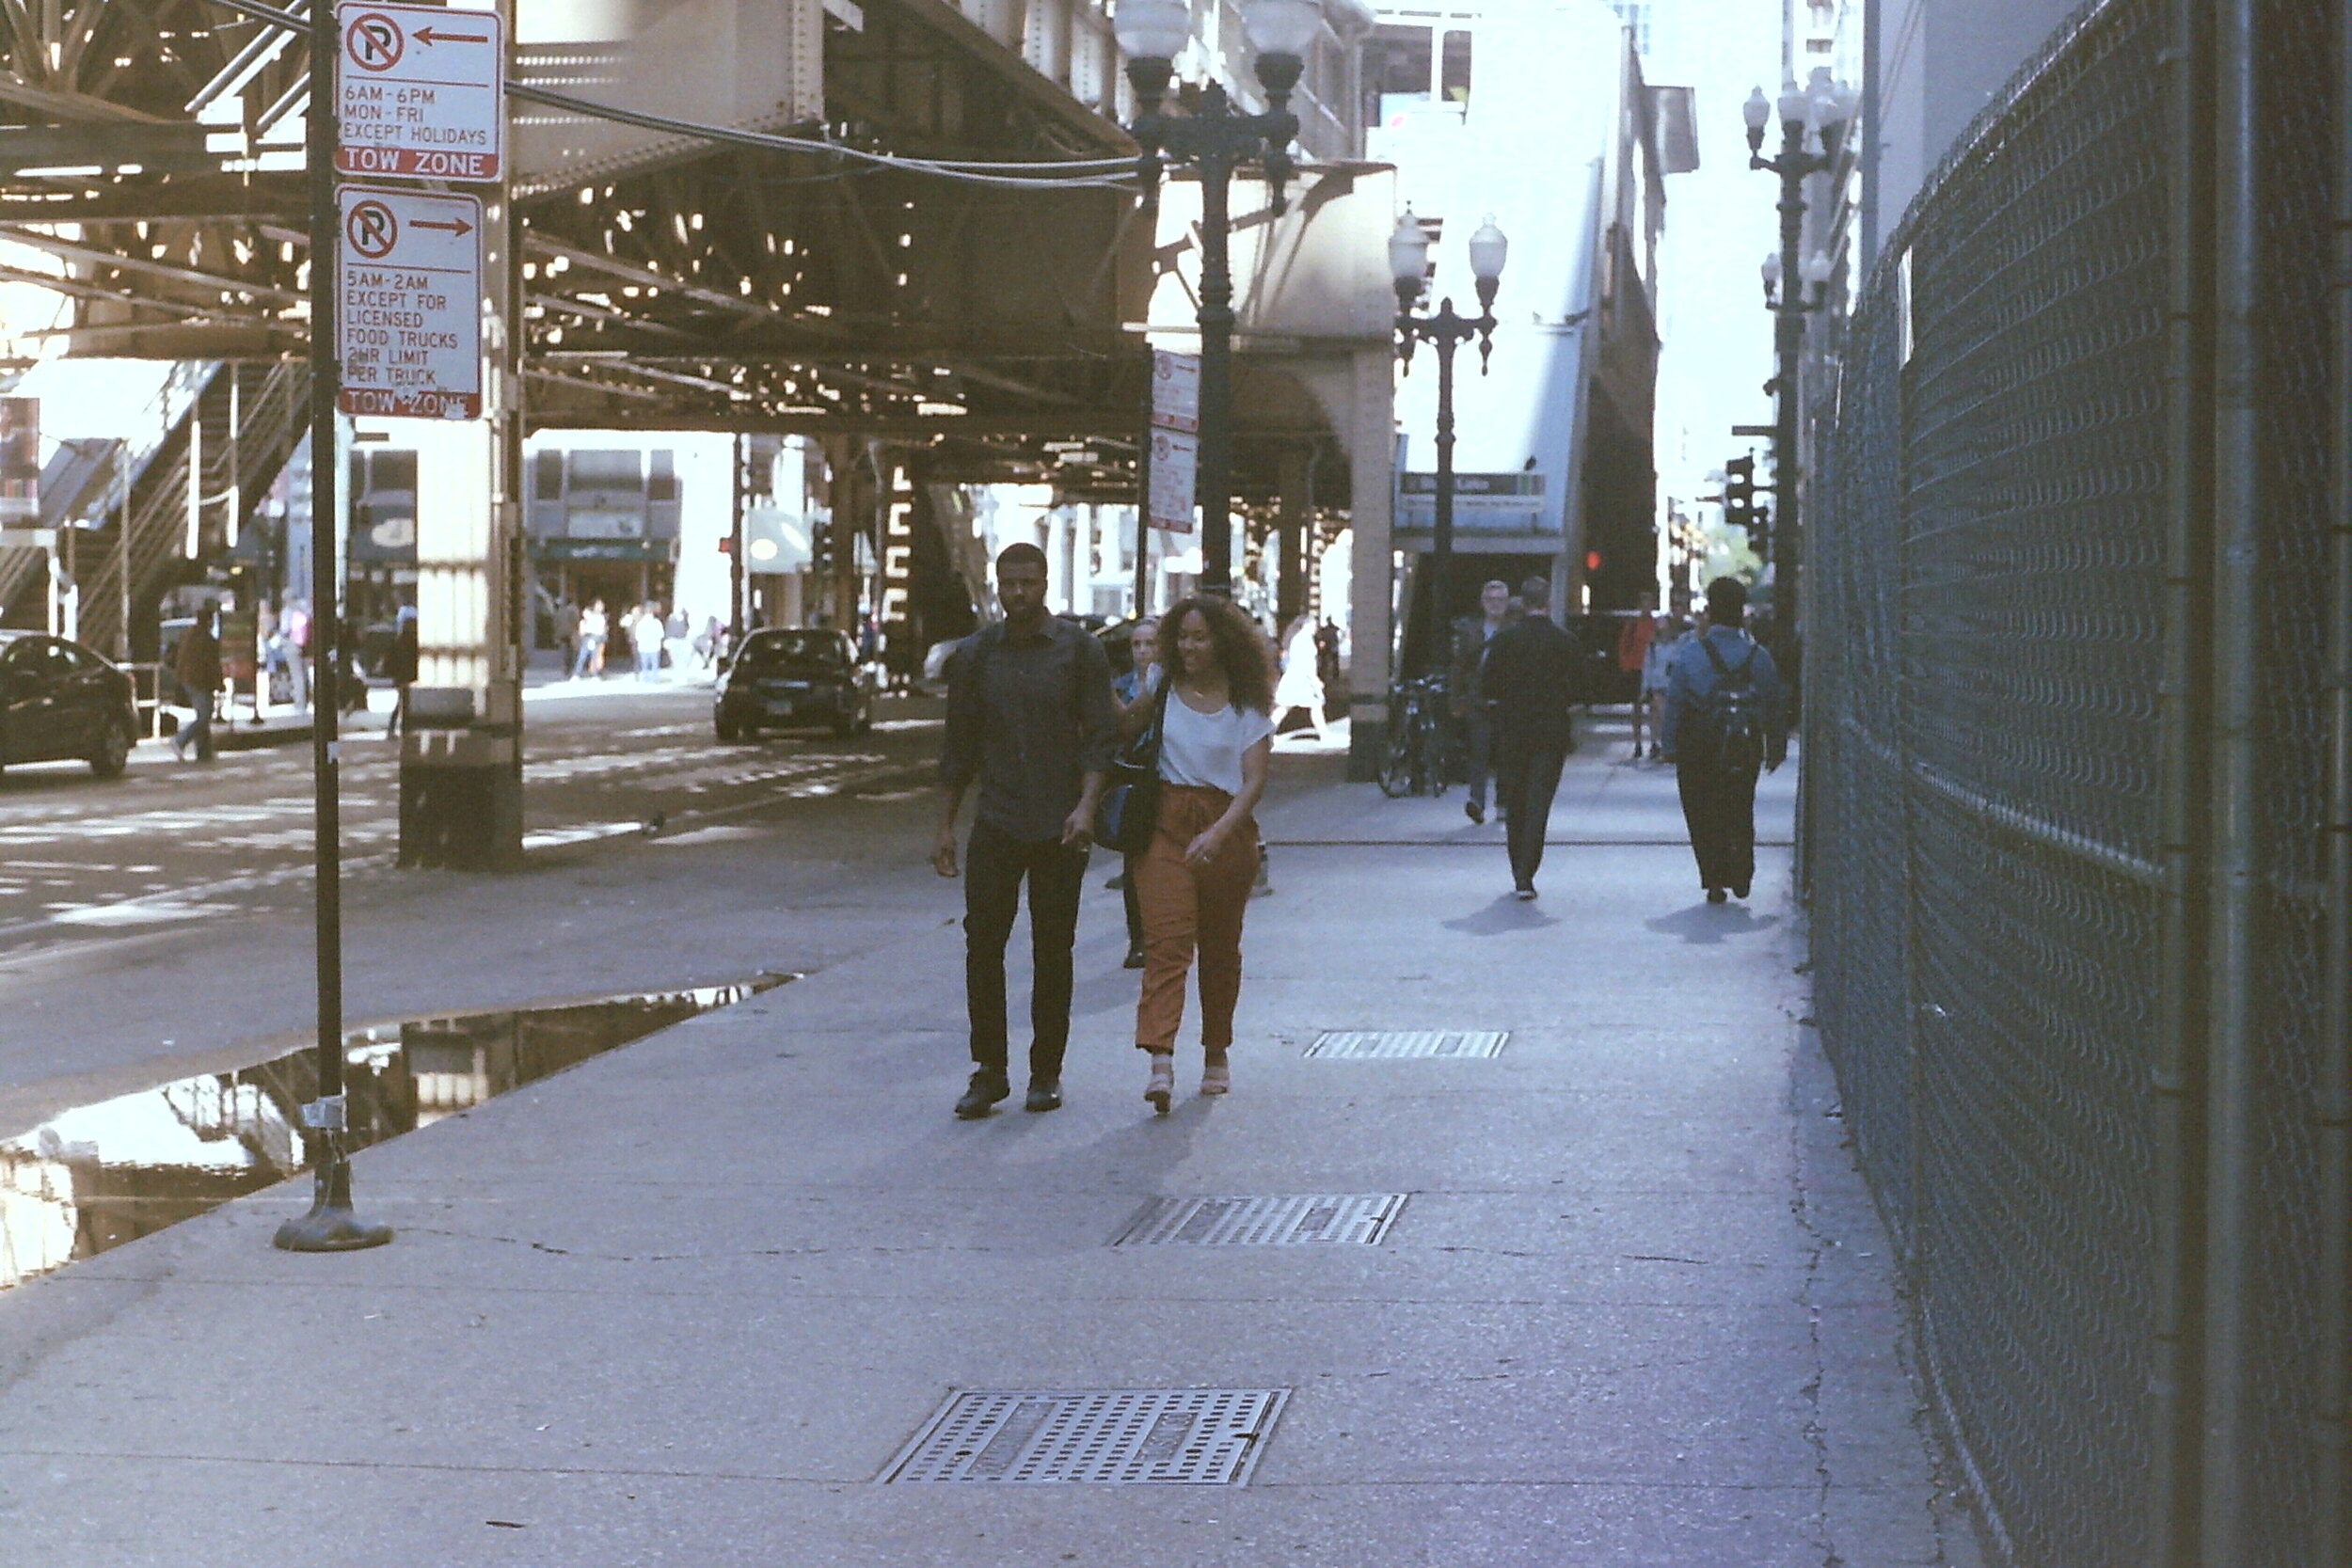
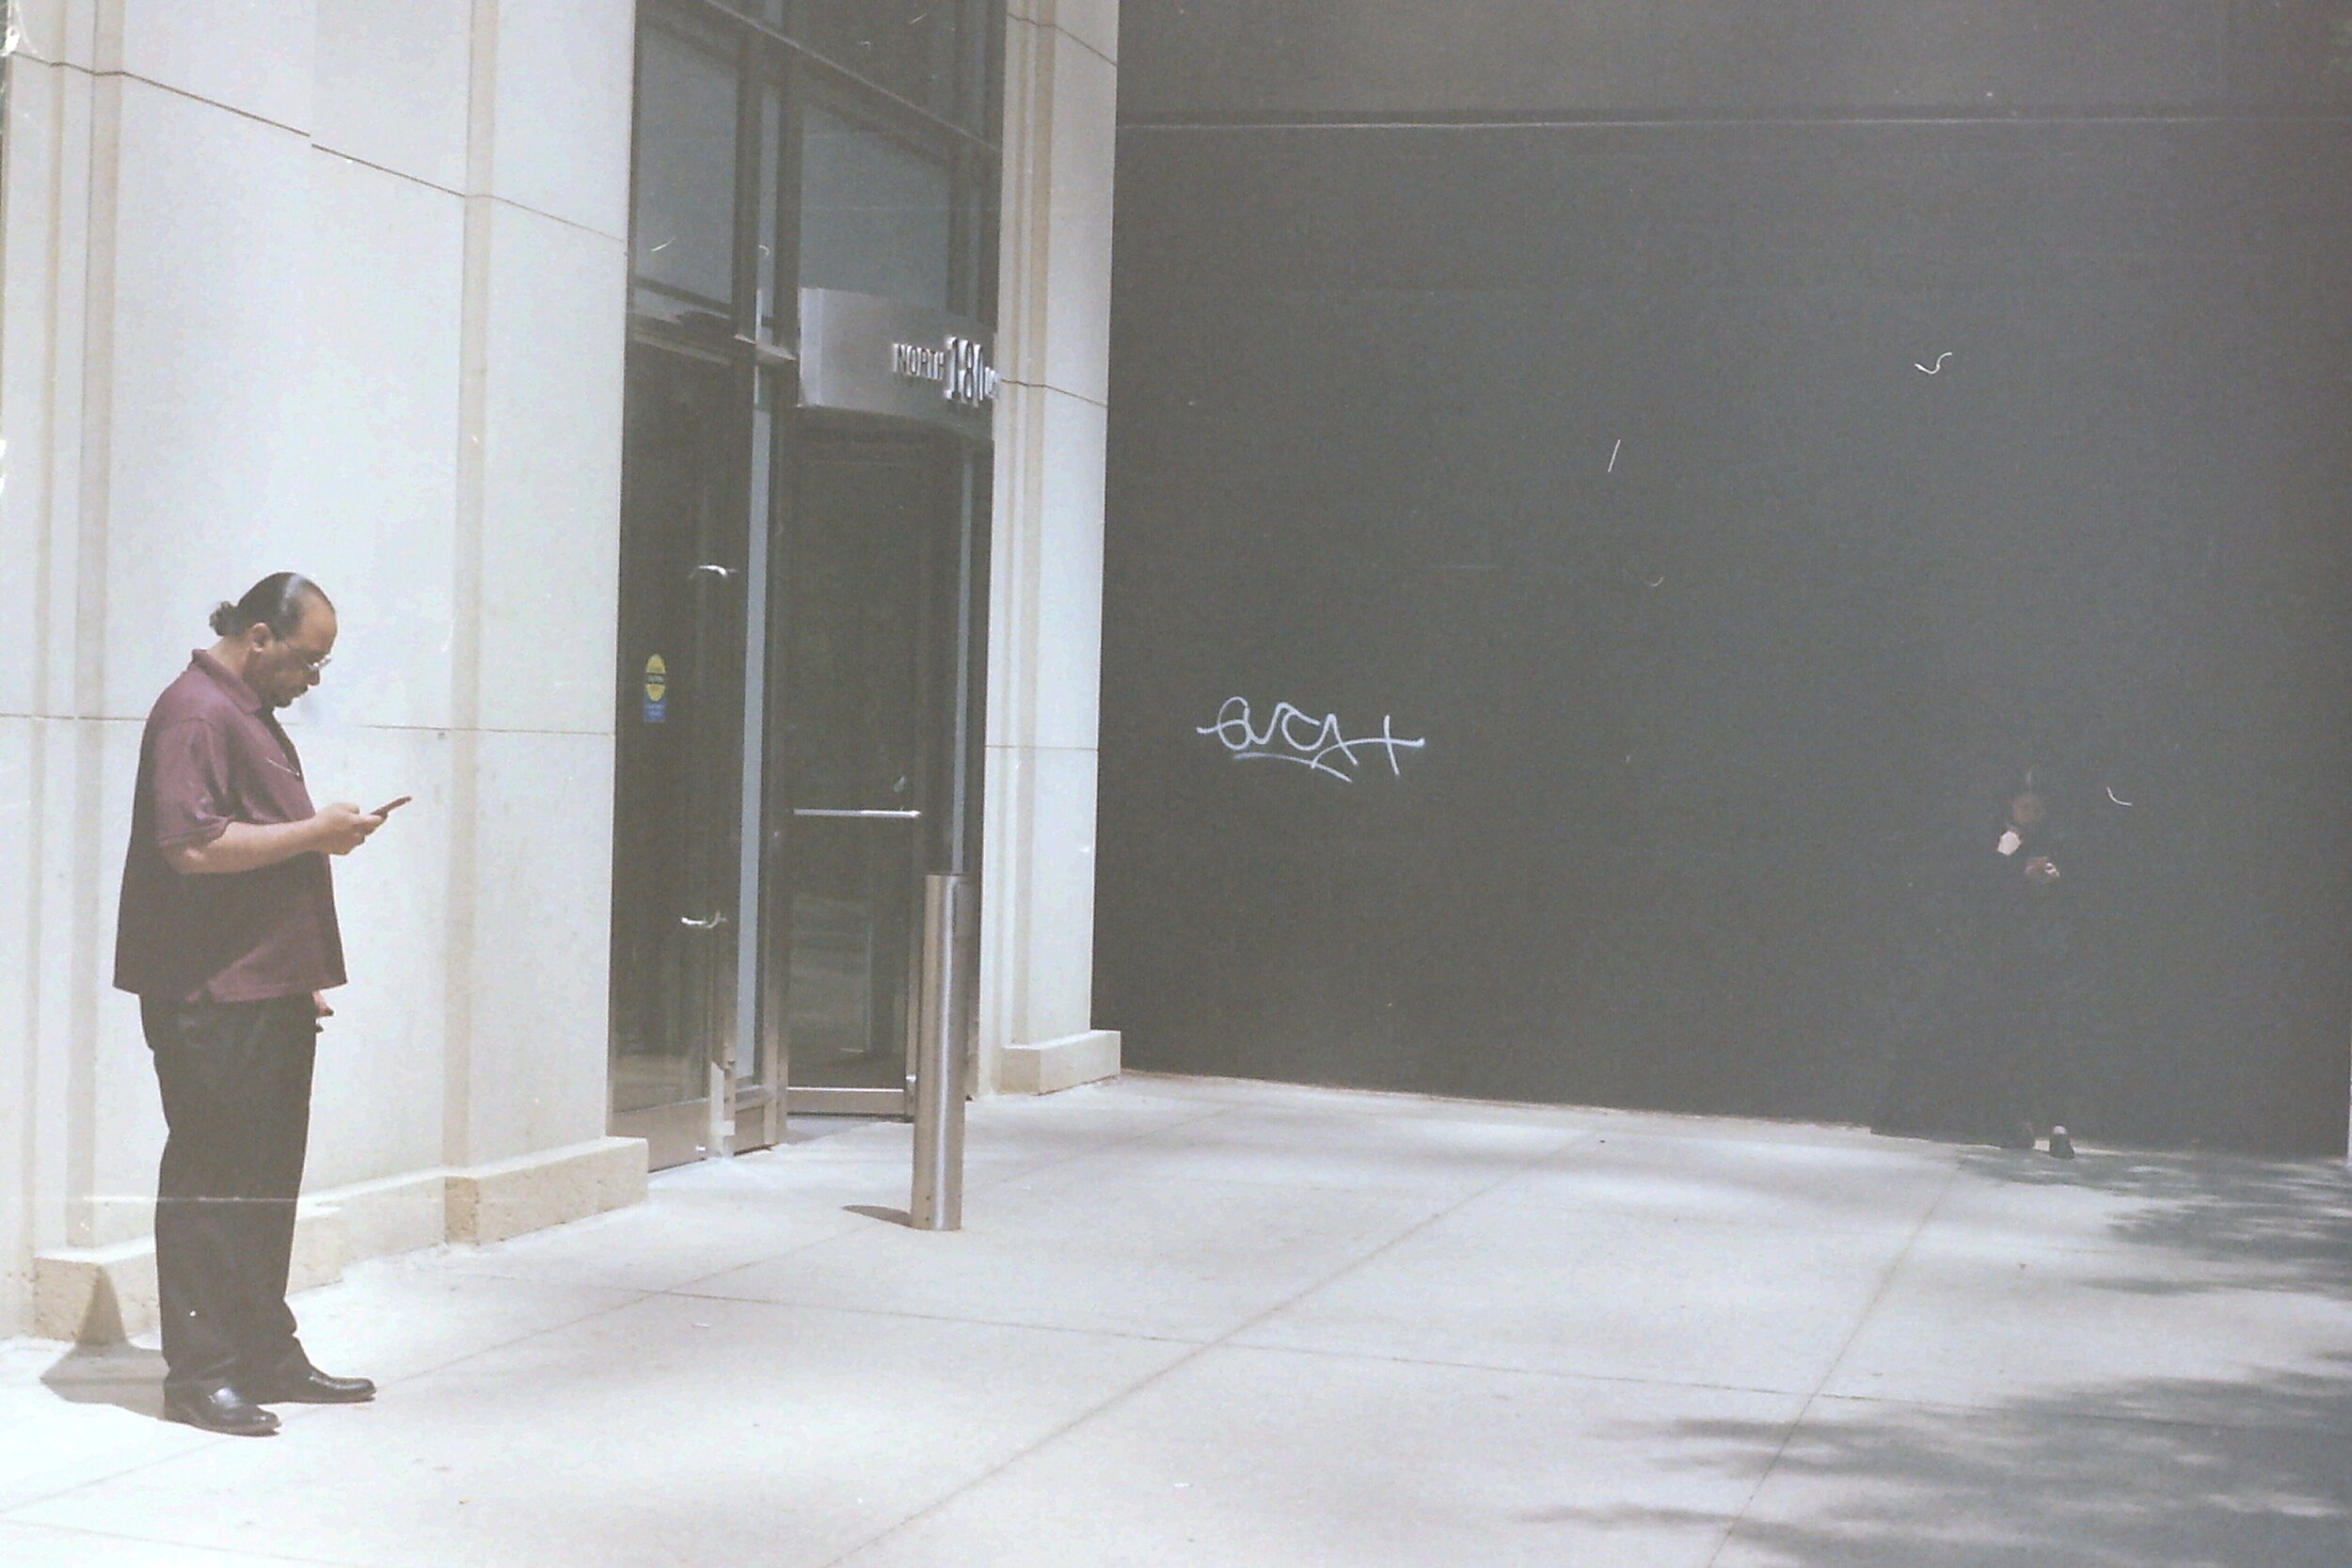
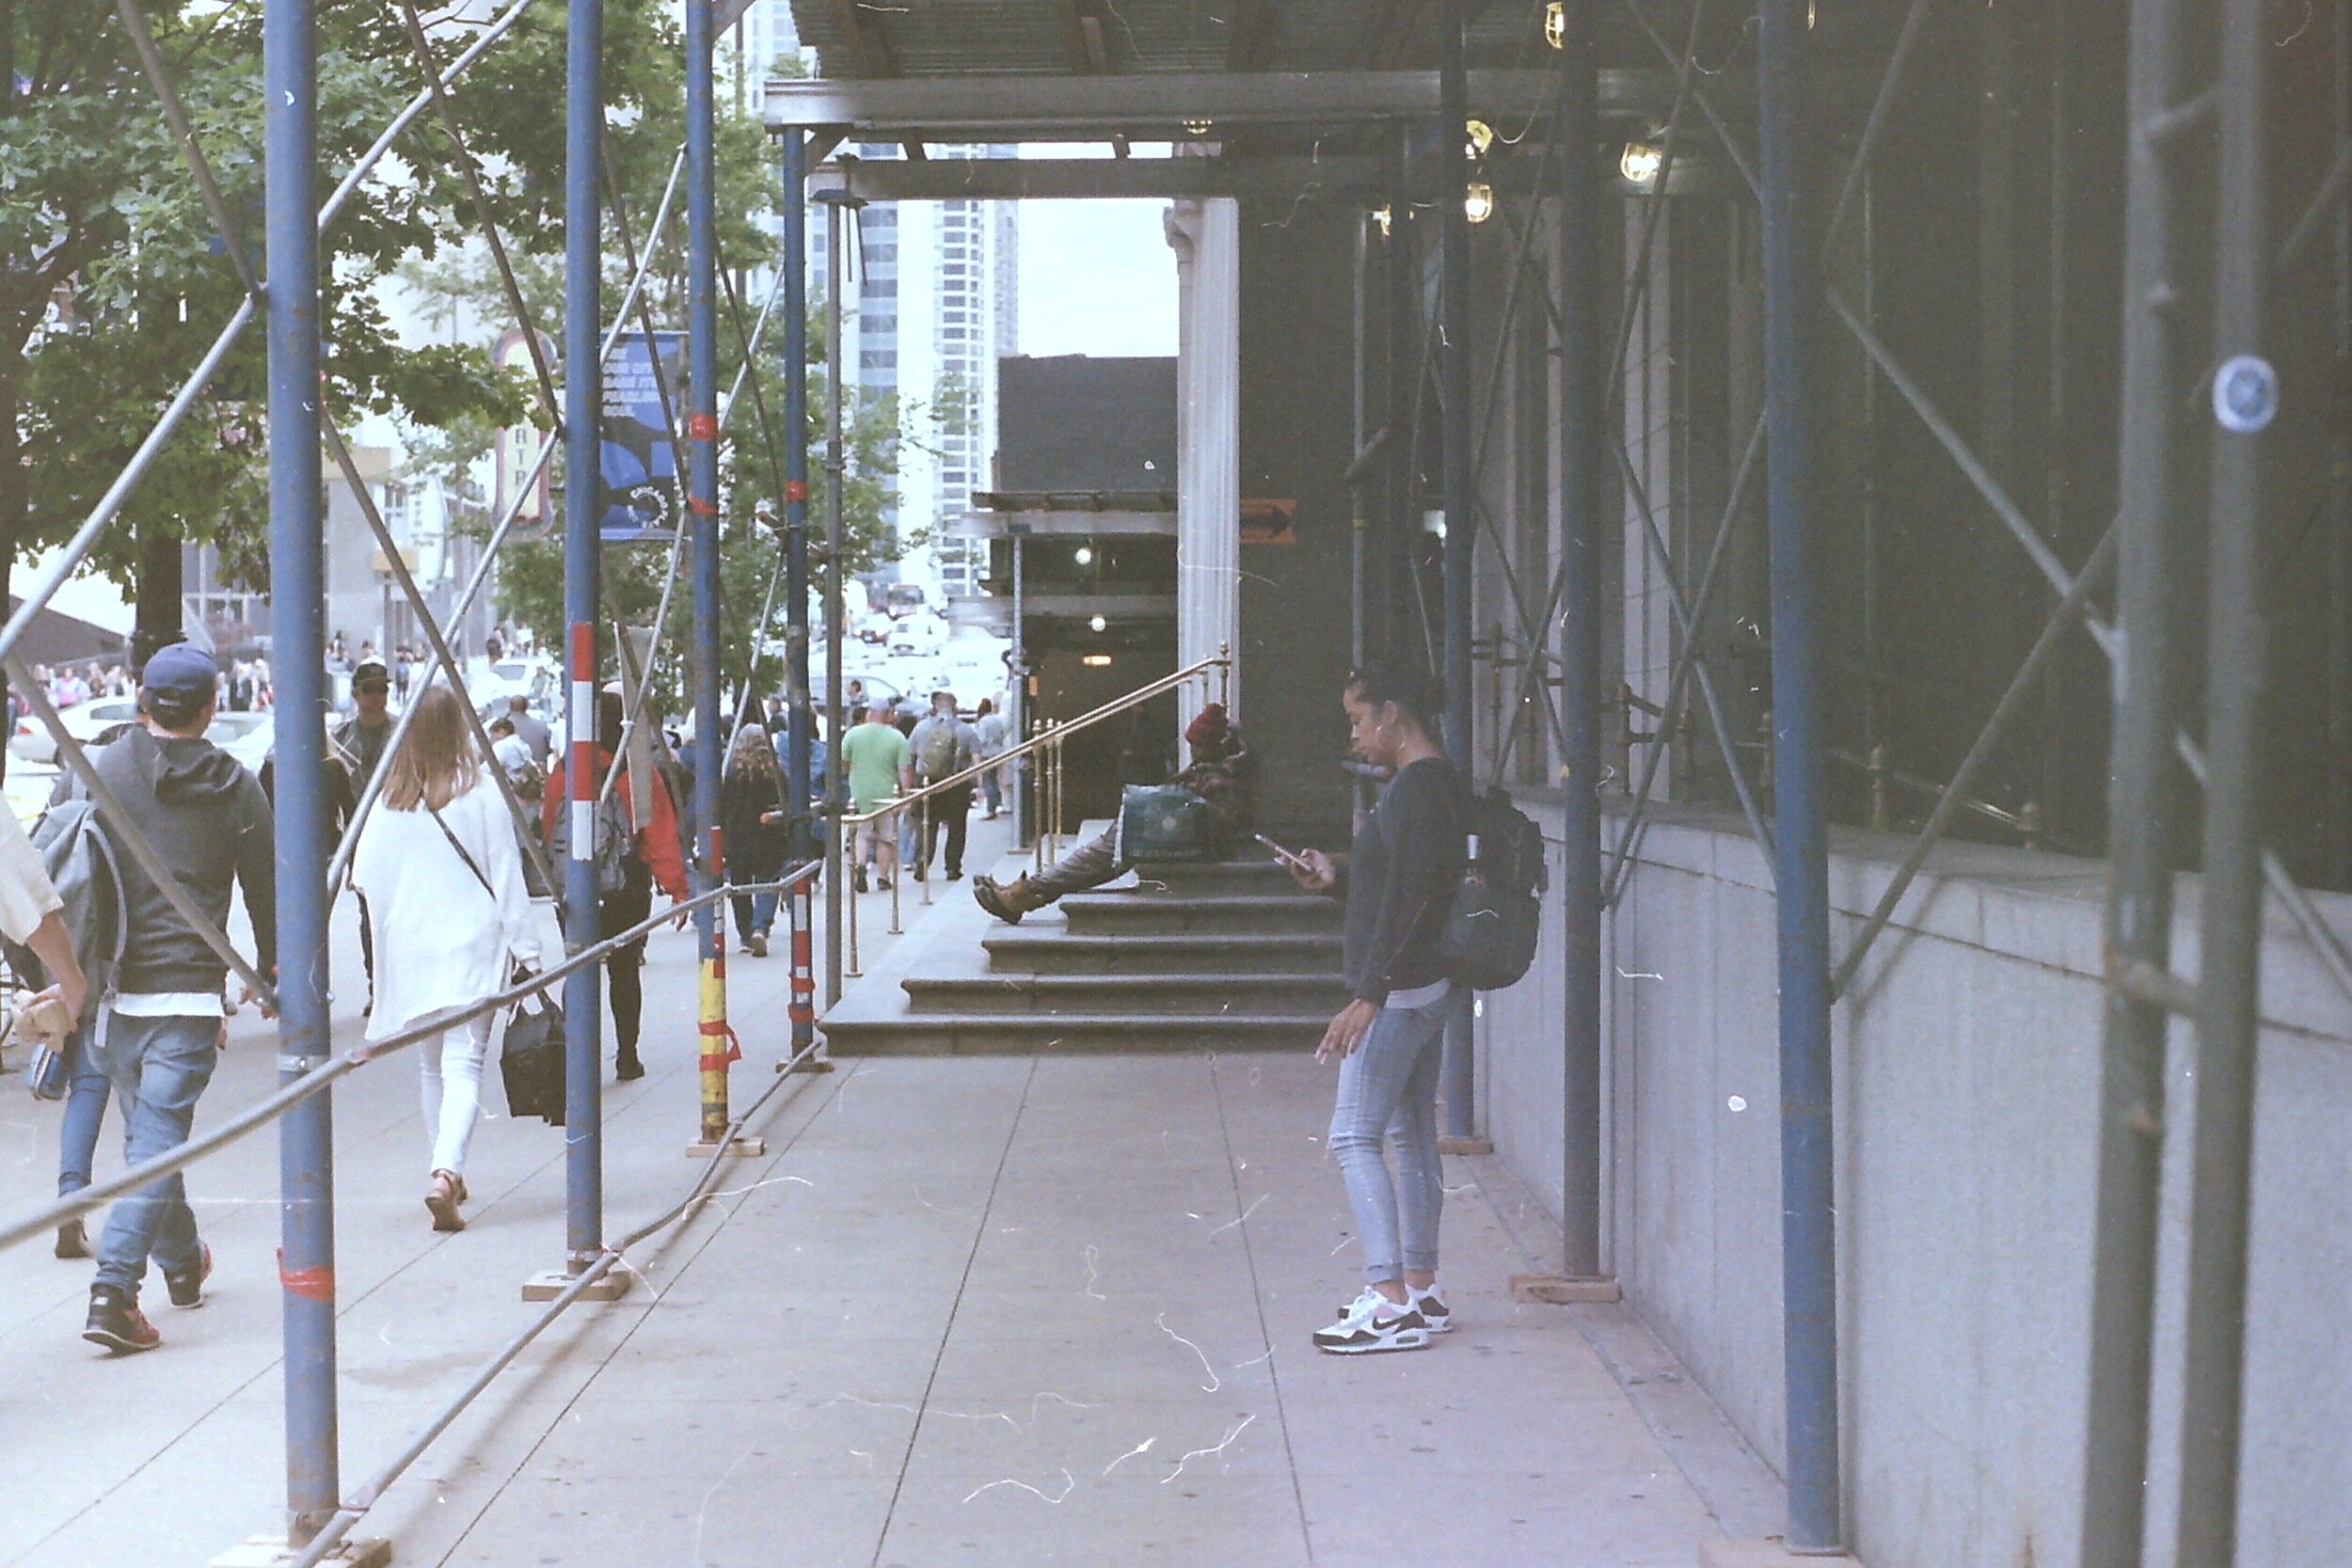
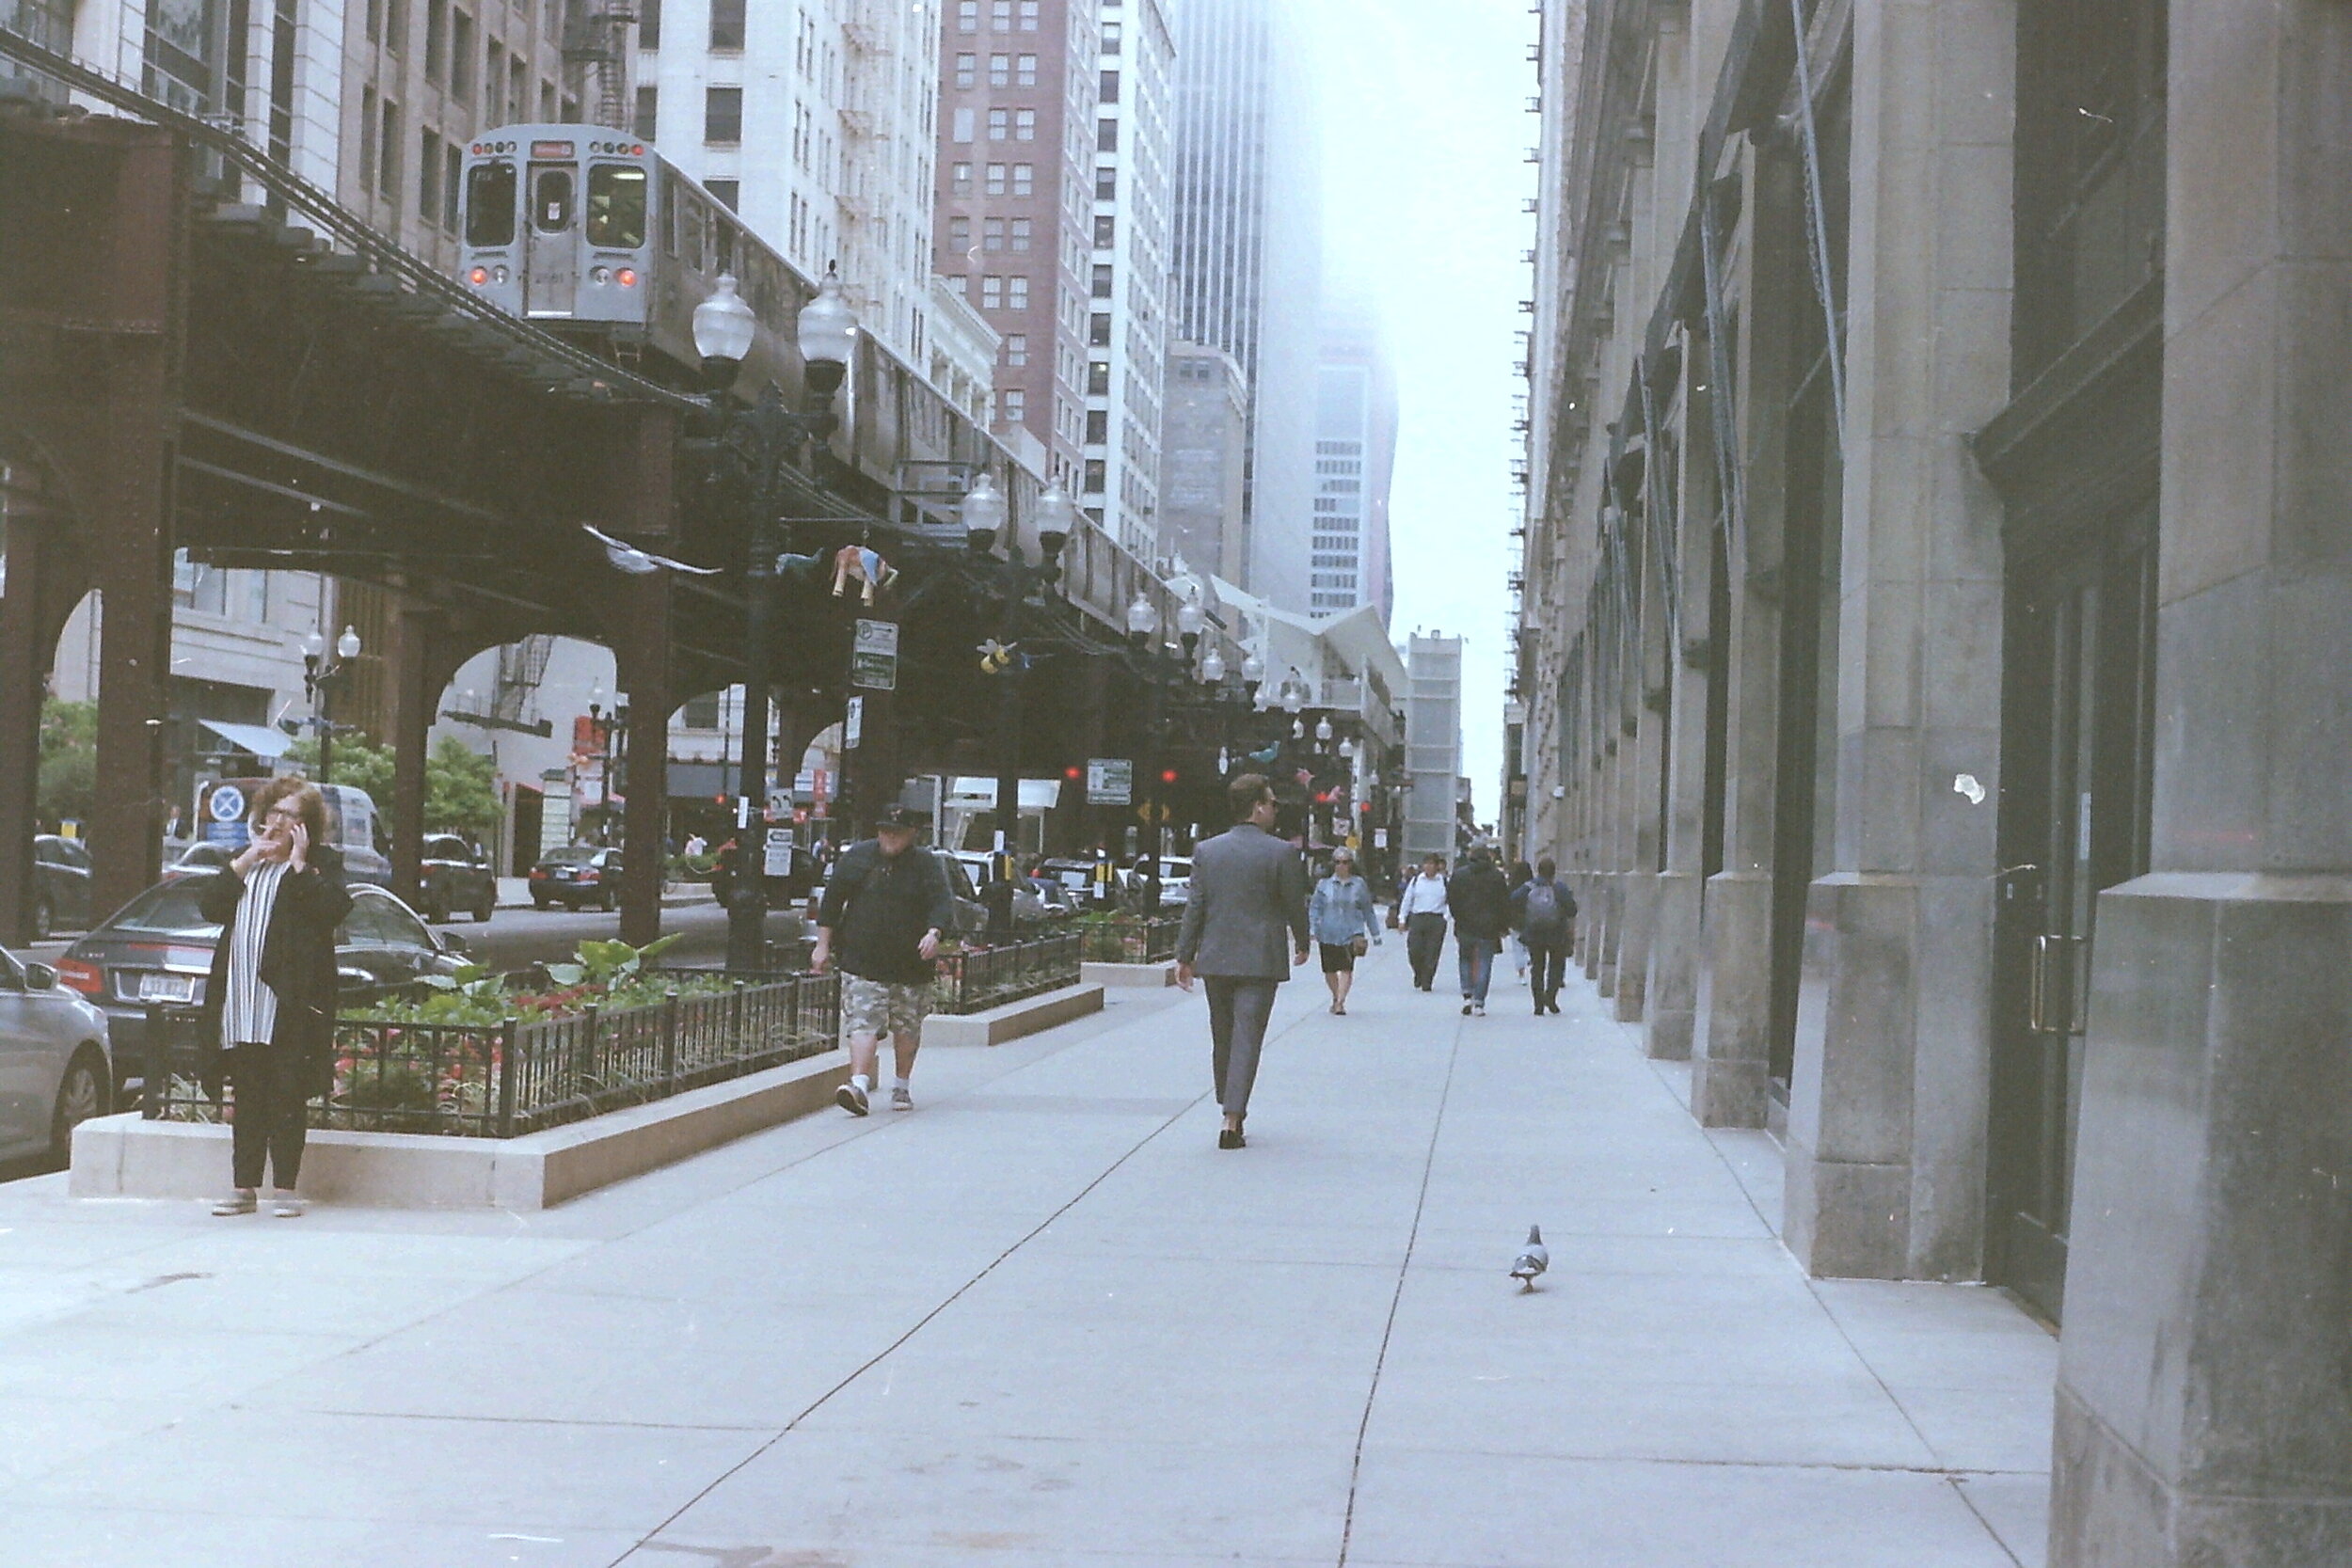
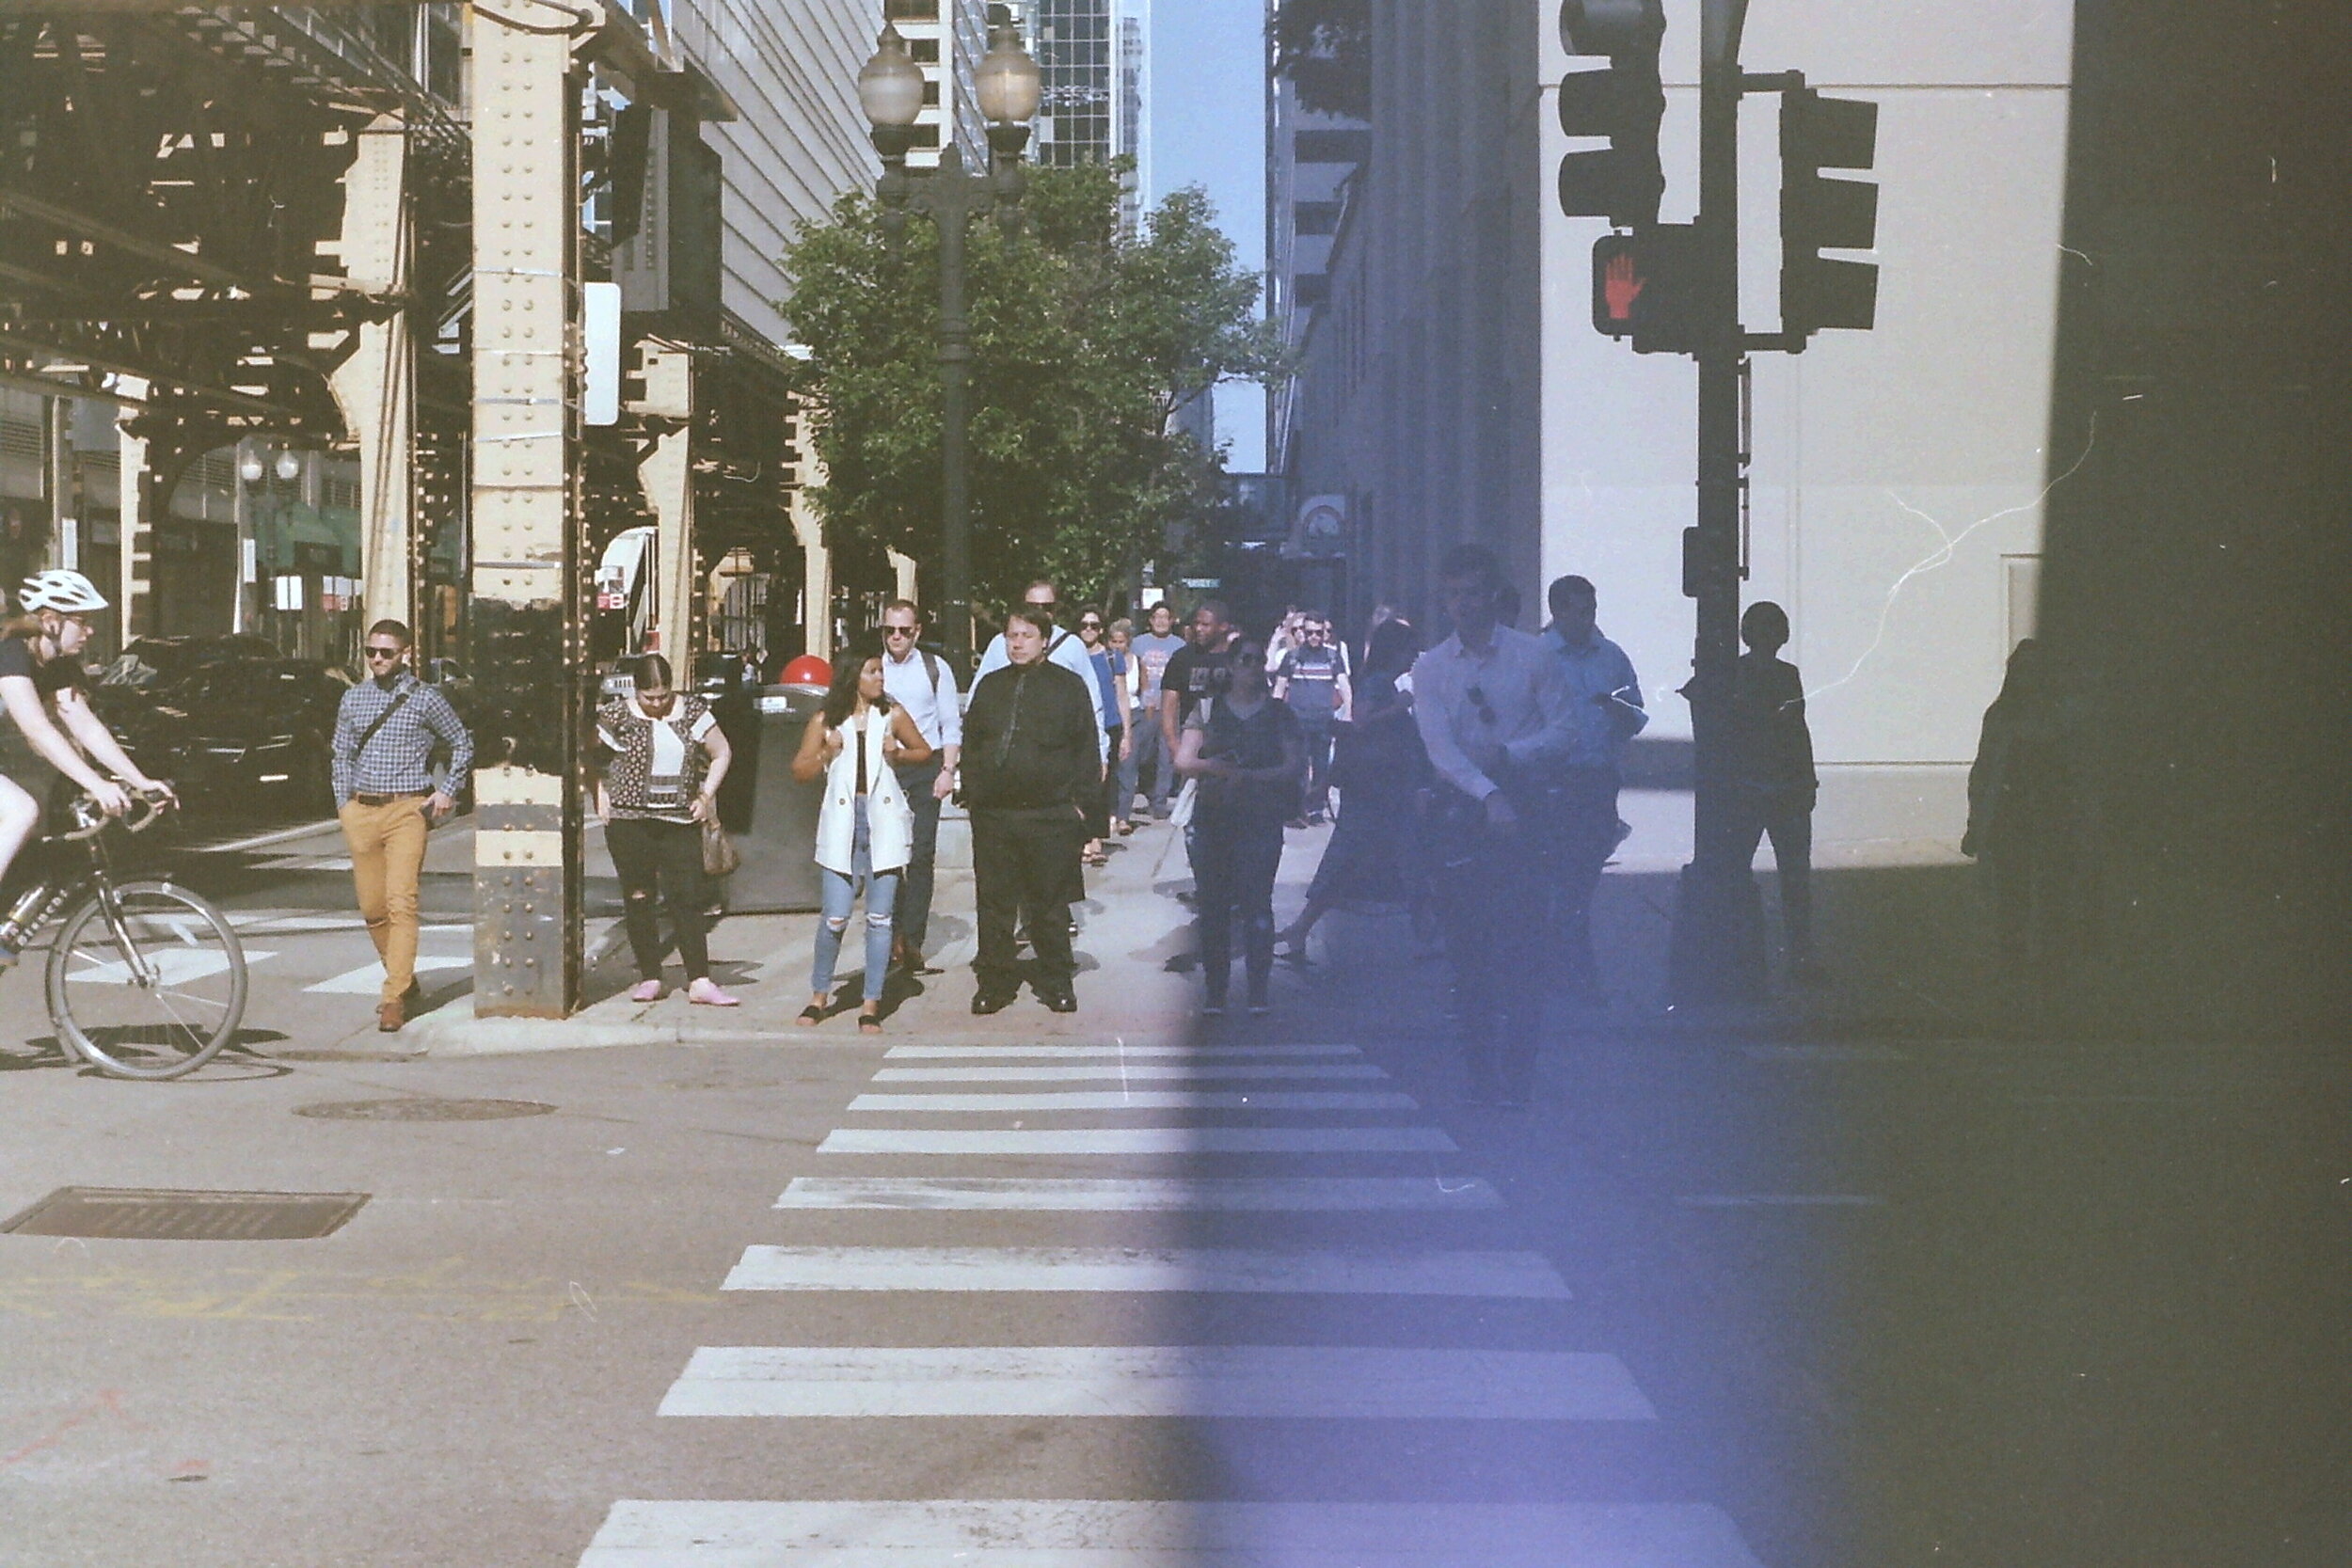
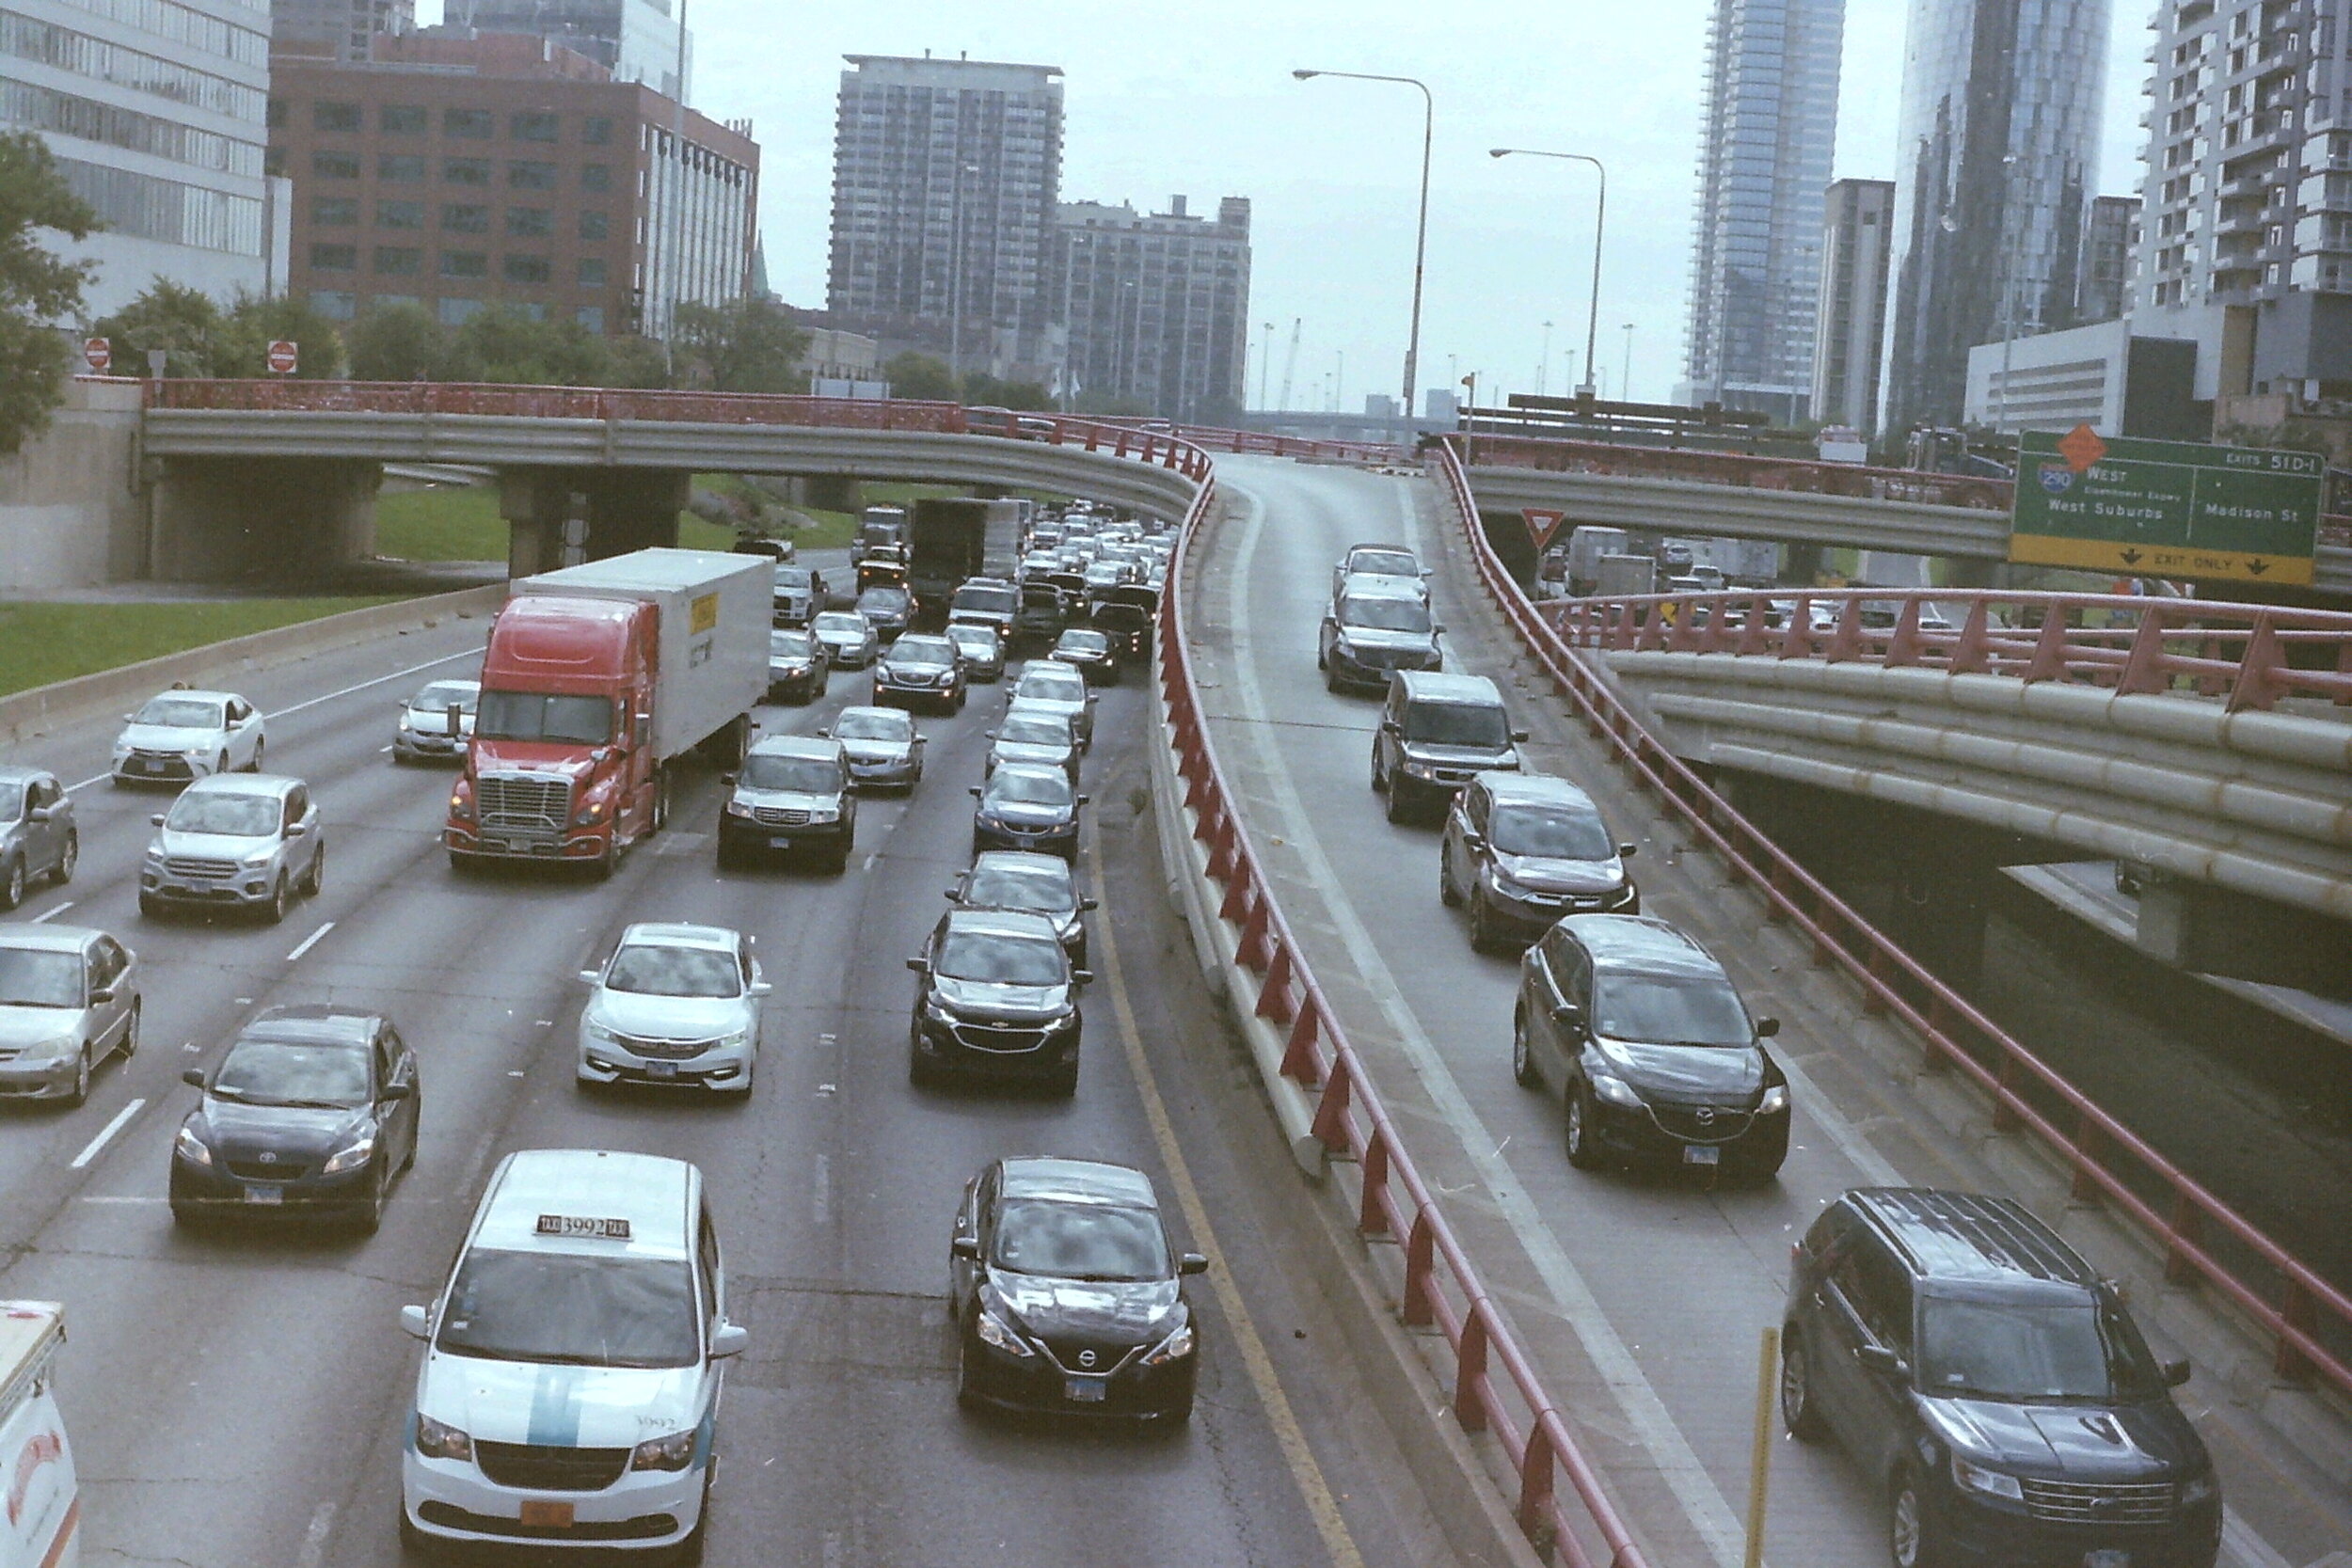
I tried out some film street photography at the end of the roll, very different than what I’ve gotten comfortable with over the years but it was rather refreshing. Check out some of street shots in the gallery below.